REPLACEMENT OF REFRIGERANT LINES
1. DISCHARGE REFRIGERATION SYSTEM
(See page AC-12)
2. REPLACE FAULTY TUBE OR HOSE
NOTE: Cap the open fittings immediately to keep moisture out of the system.
Tightening torques for the O-ring fittings.
Fitting size | Torque
0.31 in. tube for liquid line | 135 kg·cm
| (10 ft·lb, 13 N·m)
0.50 in. tube for discharge line | 225 kg·cm
| (16 ft·lb, 22 N·m)
0.61 in. tube for suction line | 325 kg·cm
| (24 ft·lb, 32 N·m)
3. EVACUATE, CHARGE AND TEST REFRIGERATION SYSTEM (See page AC-12)
EXPANSION VALVE
ON-VEHICLE INSPECTION
1. CHECK QUANTITY OF GAS DURING REFRIGE-RATION CYCLE
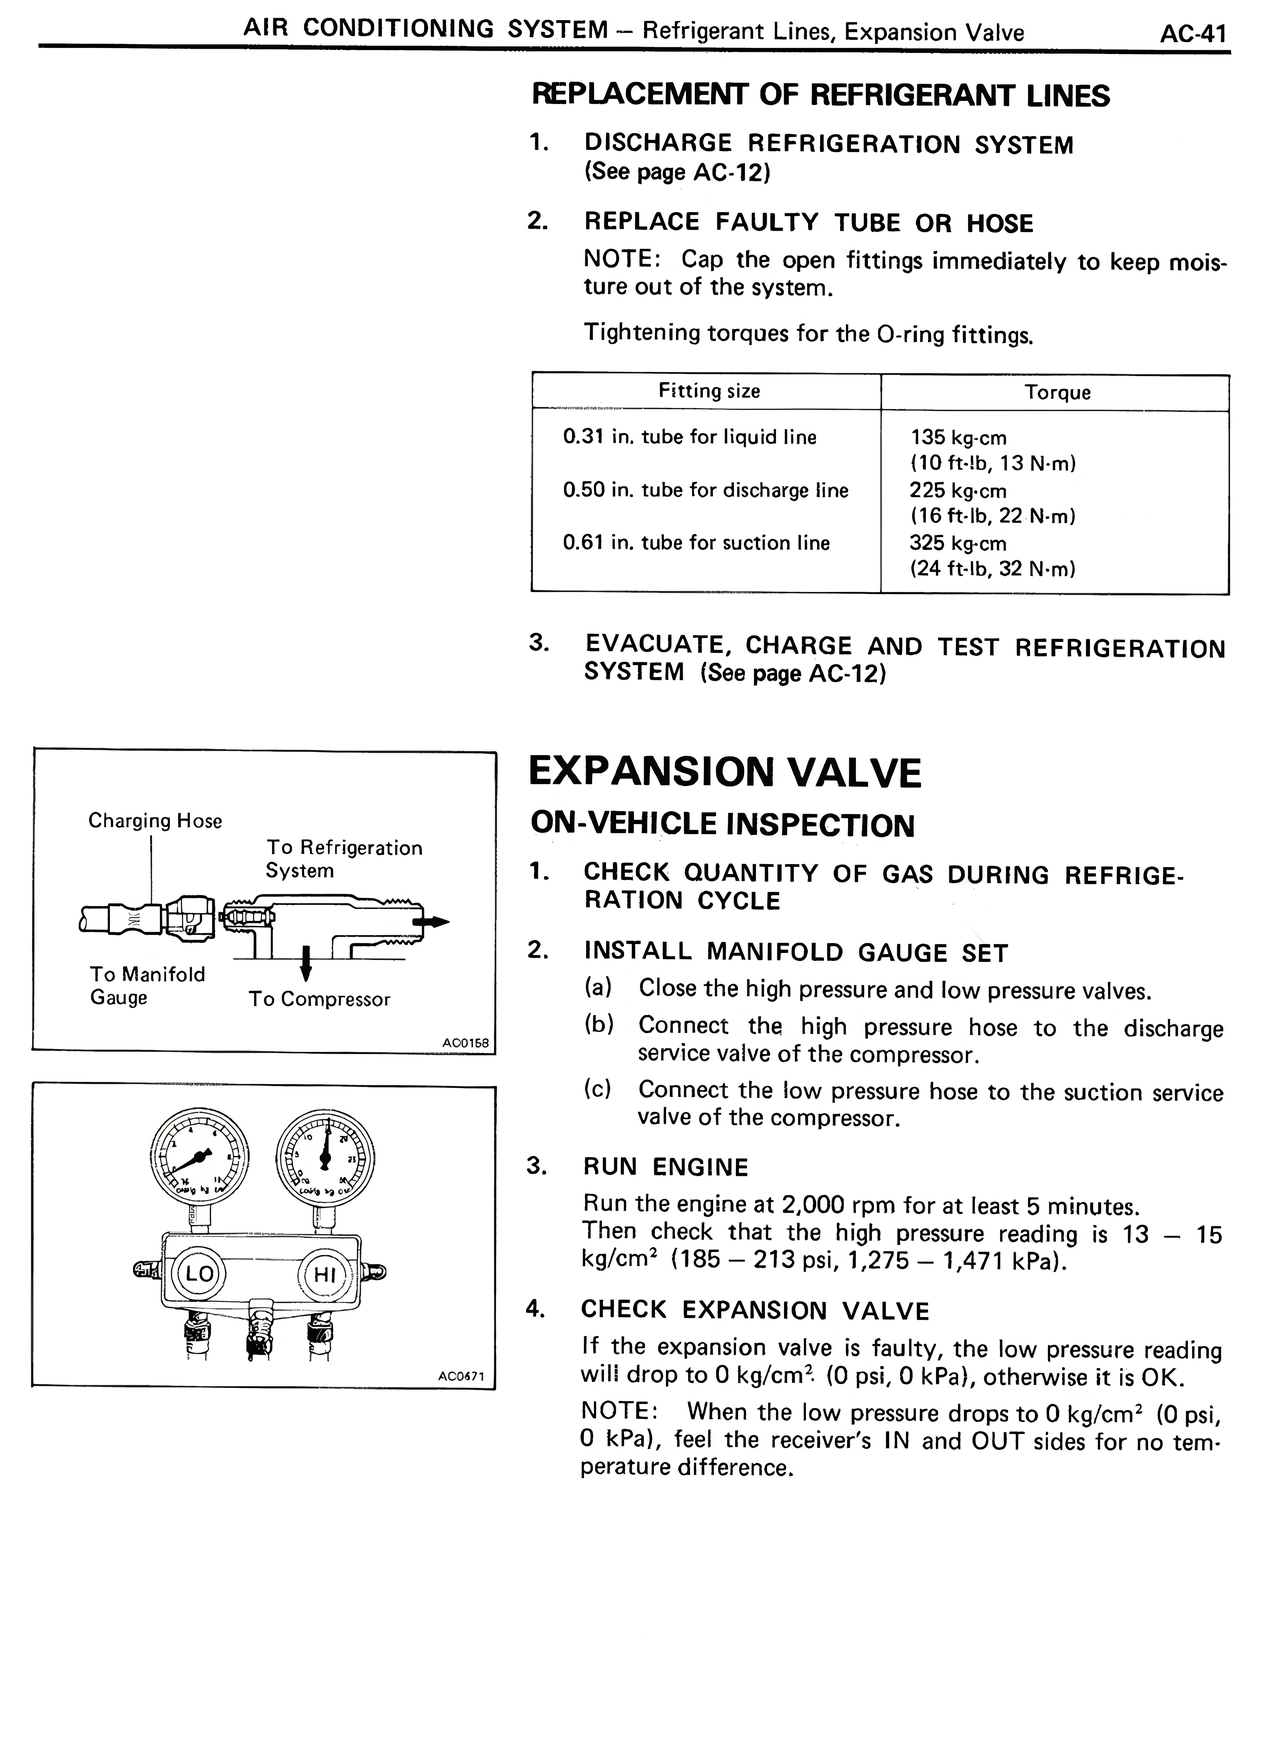
2. INSTALL MANIFOLD GAUGE SET
(a) Close the high pressure and low pressure valves.
(b) Connect the high pressure hose to the discharge service valve of the compressor.
(c) Connect the low pressure hose to the suction service valve of the compressor.
3. RUN ENGINE
Run the engine at 2,000 rpm for at least 5 minutes. Then check that the high pressure reading is 13 - 15 kg/cm² (185 - 213 psi, 1,275 - 1,471 kPa).
4. CHECK EXPANSION VALVE
If the expansion valve is faulty, the low pressure reading will drop to 0 kg/cm² (0 psi, 0 kPa), otherwise it is OK.
NOTE: When the low pressure drops to 0 kg/cm² (0 psi, 0 kPa), feel the receiver's IN and OUT sides for no temperature difference.