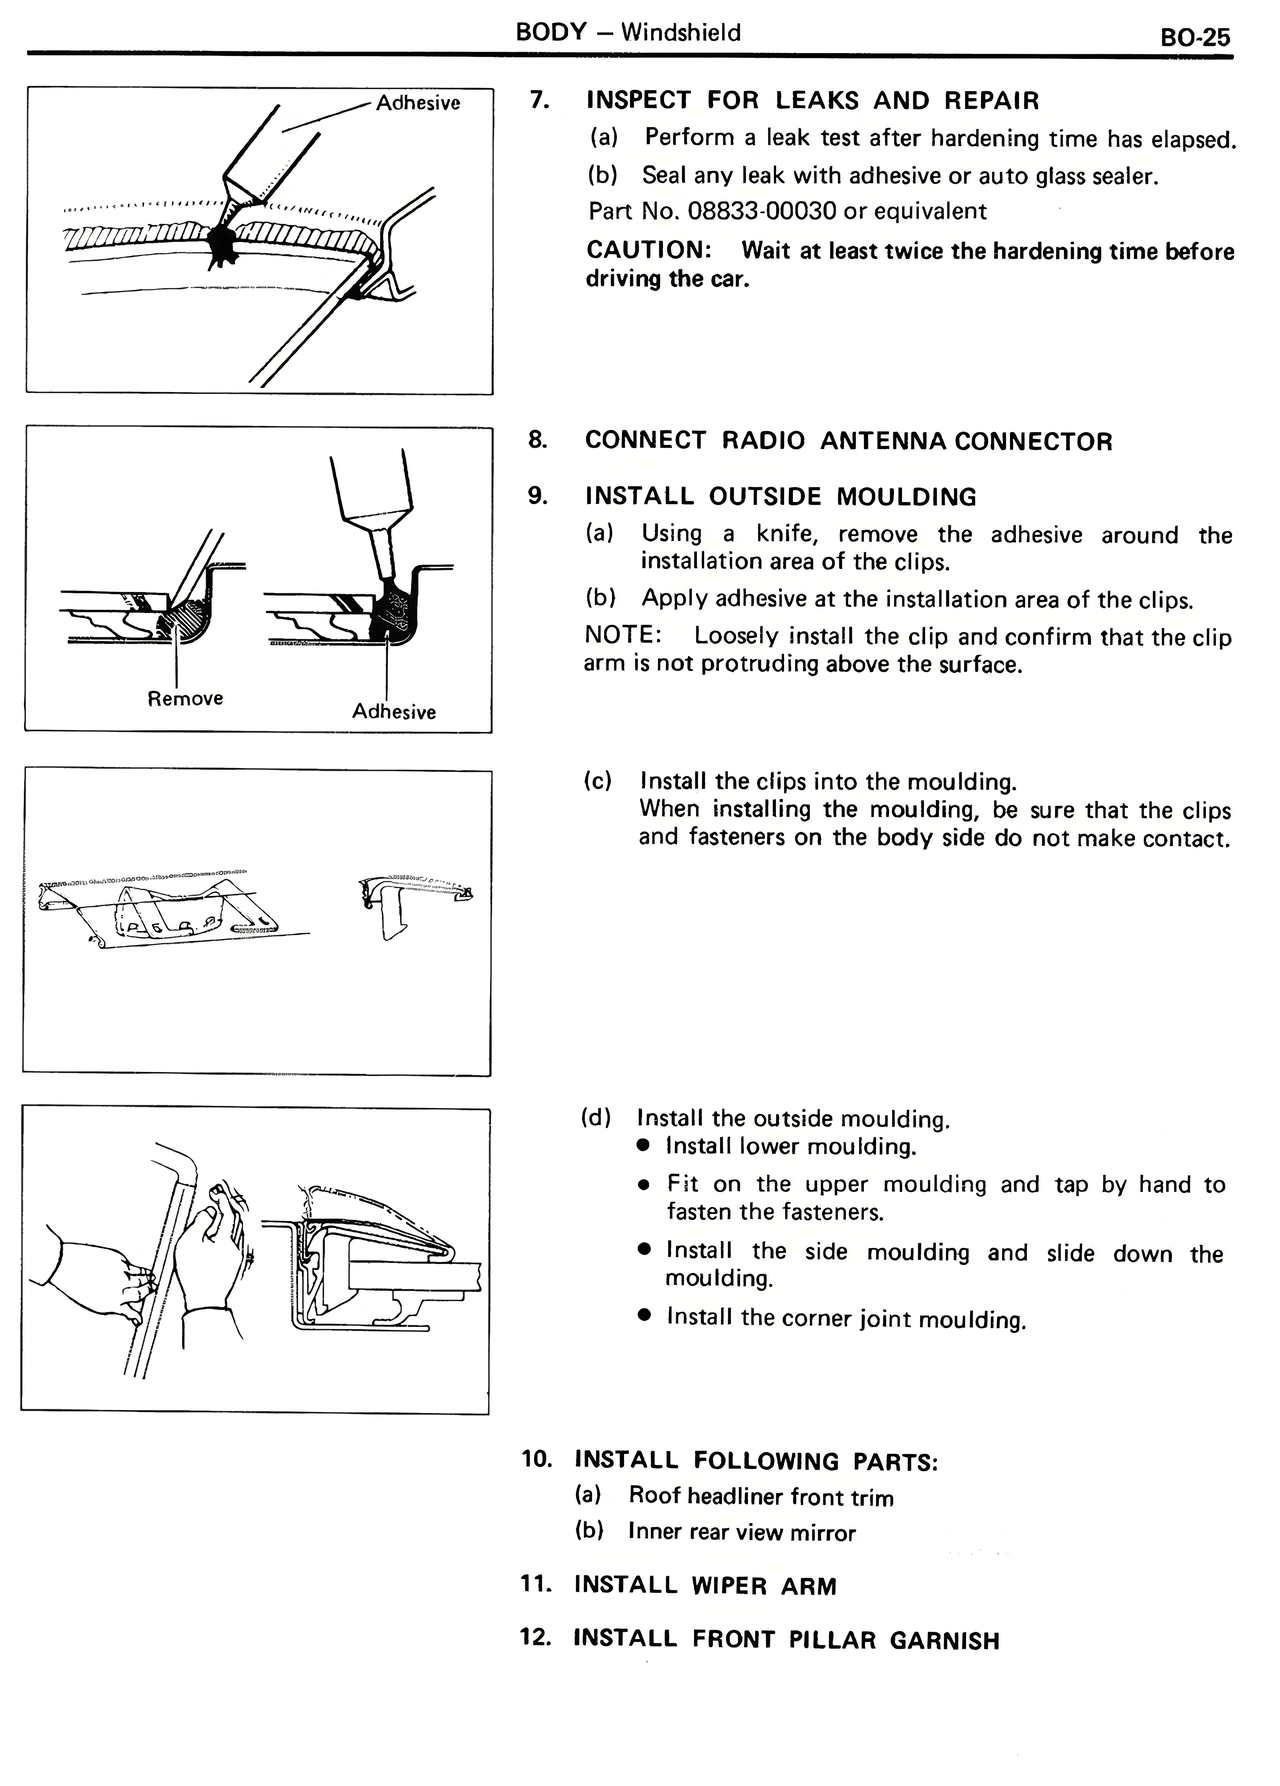
7. INSPECT FOR LEAKS AND REPAIR
(a) Perform a leak test after hardening time has elapsed.
(b) Seal any leak with adhesive or auto glass sealer.
Part No. 08833-00030 or equivalent
CAUTION: Wait at least twice the hardening time before driving the car.
8. CONNECT RADIO ANTENNA CONNECTOR
9. INSTALL OUTSIDE MOULDING
(a) Using a knife, remove the adhesive around the installation area of the clips.
(b) Apply adhesive at the installation area of the clips.
NOTE: Loosely install the clip and confirm that the clip arm is not protruding above the surface.
(c) Install the clips into the moulding.
When installing the moulding, be sure that the clips and fasteners on the body side do not make contact.
(d) Install the outside moulding.
• Install lower moulding.
• Fit on the upper moulding and tap by hand to fasten the fasteners.
• Install the side moulding and slide down the moulding.
• Install the corner joint moulding.
10. INSTALL FOLLOWING PARTS:
(a) Roof headliner front trim
(b) Inner rear view mirror
11. INSTALL WIPER ARM
12. INSTALL FRONT PILLAR GARNISH