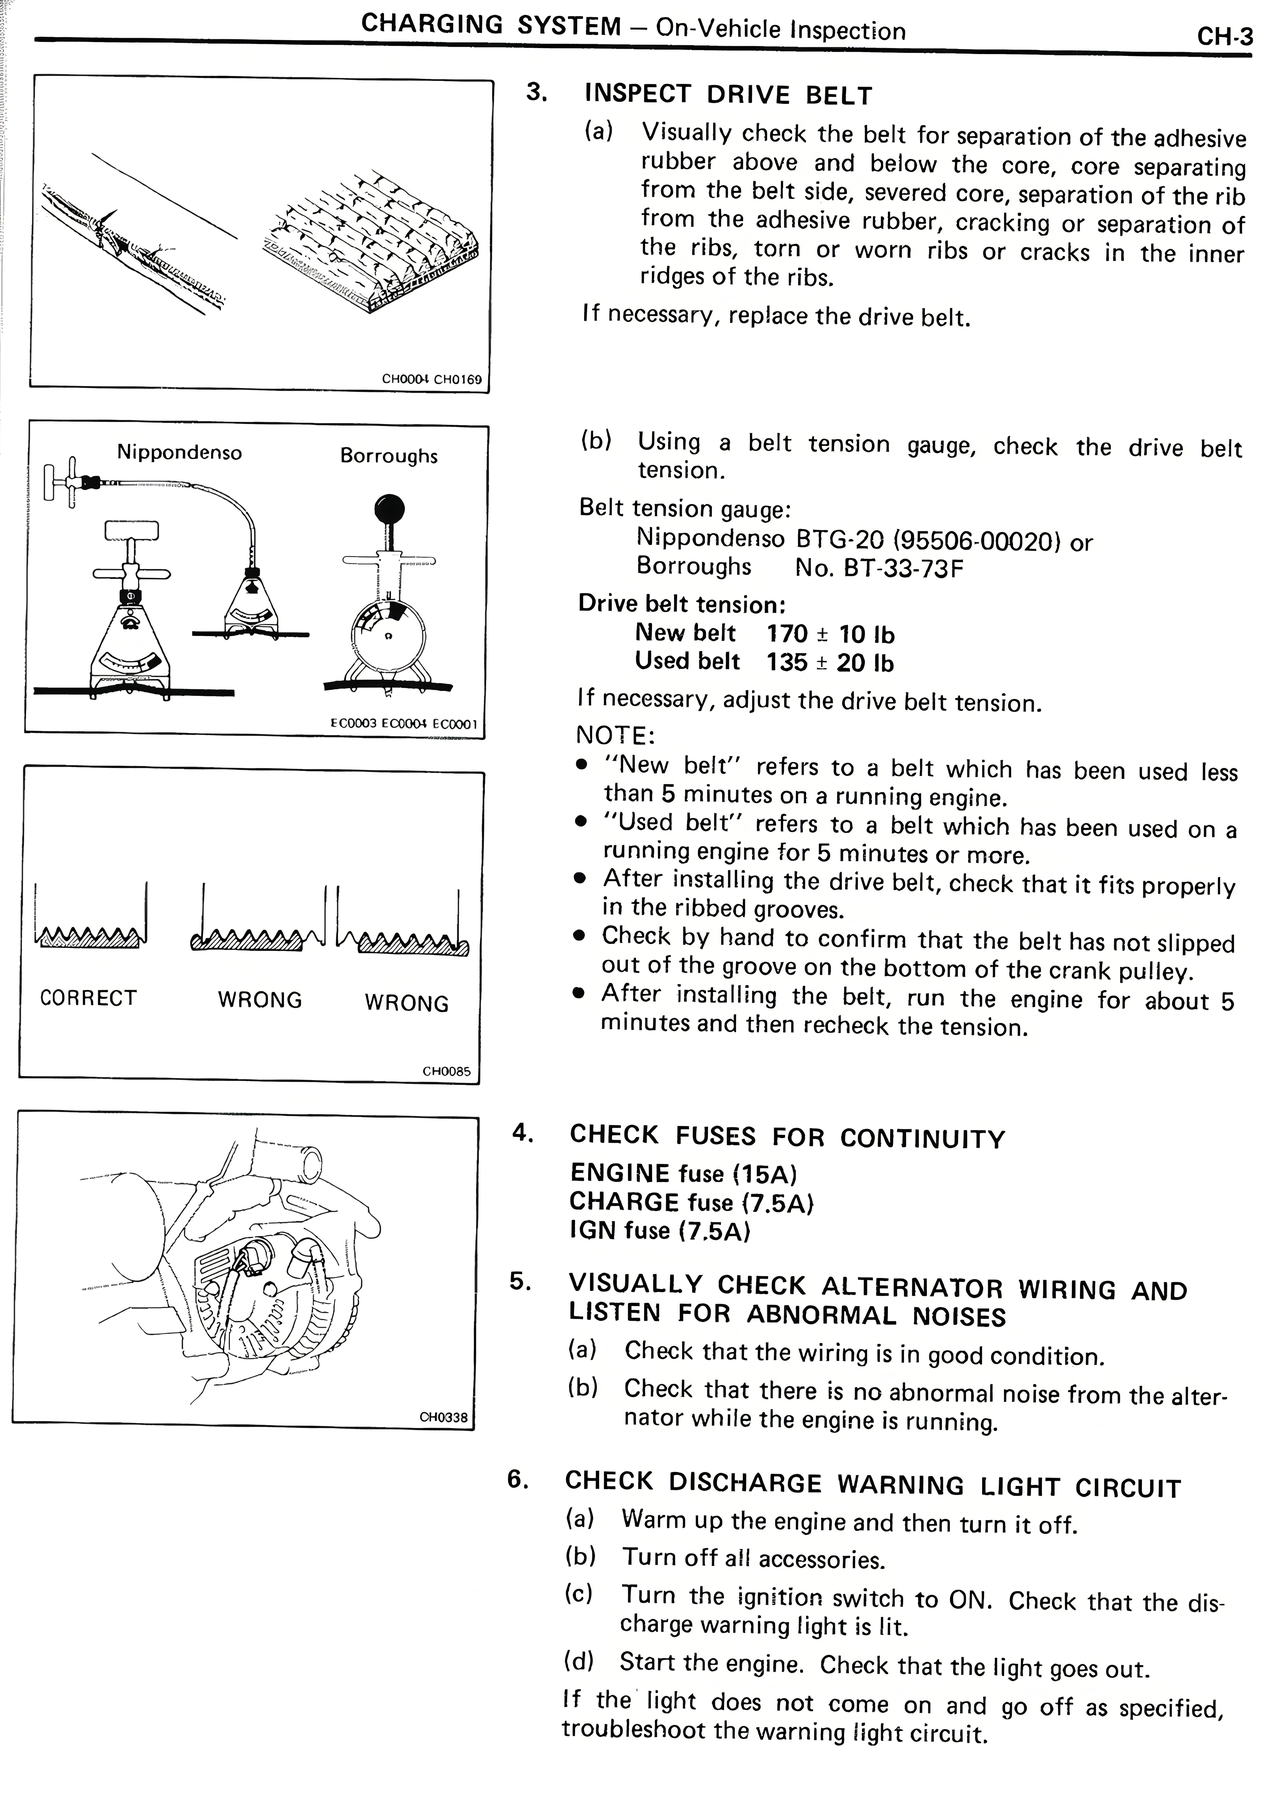
3. INSPECT DRIVE BELT
(a) Visually check the belt for separation of the adhesive rubber, rubber missing from the core, core separating from the belt side, severed core, separation of the rib from the adhesive rubber, cracking or separation of the rib, torn or worn ribs or cracks in the inner ridges of the ribs.
If necessary, replace the drive belt.
(b) Using a belt tension gauge, check the drive belt tension.
Belt tension gauge:
Nippondenso BTG-20 (95606-00020) or
Borroughs No. BT-33-73F
Drive belt tension:
New belt 170 ± 10 lb
Used belt 135 ± 20 lb
If necessary, adjust the drive belt tension.
NOTE:
• "New belt" refers to a belt which has been used less than 5 minutes on a running engine.
• "Used belt" refers to a belt which has been used on a running engine for 5 minutes or more.
• After installing the drive belt, check that it fits properly in the ribbed grooves.
• Check by hand to confirm that the belt has not slipped out of the groove on the bottom of the crank pulley.
• After installing the belt, run the engine for about 5 minutes and then recheck the tension.
4. CHECK FUSES FOR CONTINUITY
ENGINE fuse (15A)
CHARGE fuse (7.5A)
IGN fuse (7.5A)
5. VISUALLY CHECK ALTERNATOR WIRING AND LISTEN FOR ABNORMAL NOISES
(a) Check that the wiring is in good condition.
(b) Check that there is no abnormal noise from the alternator while the engine is running.
6. CHECK DISCHARGE WARNING LIGHT CIRCUIT
(a) Warm up the engine and then turn it off.
(b) Turn off all accessories.
(c) Turn the ignition switch to ON. Check that the discharge warning light is lit.
(d) Start the engine. Check that the light goes out.
If the light does not come on and go off as specified, troubleshoot the warning light circuit.