INSTALLATION OF LOWER ARM
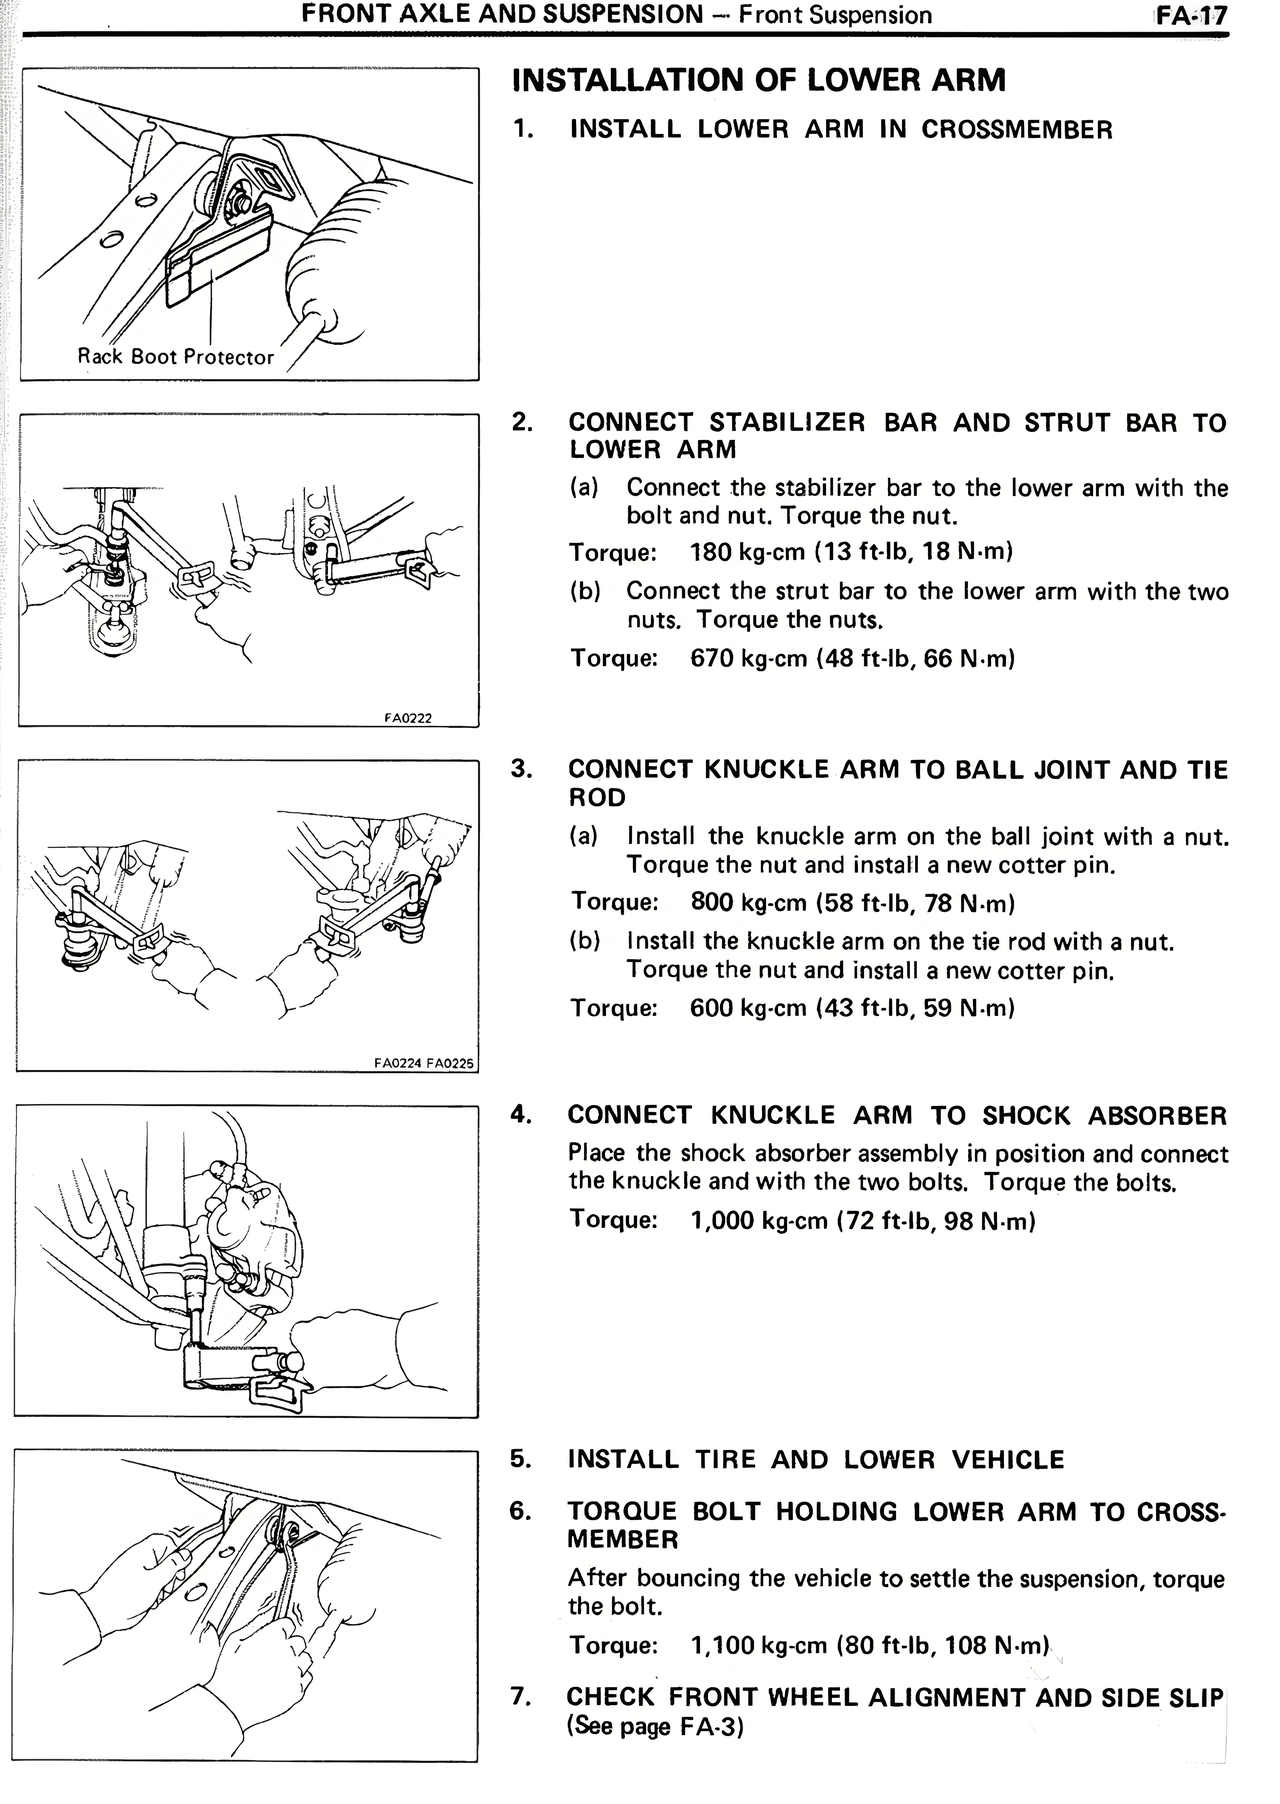
1. INSTALL LOWER ARM IN CROSSMEMBER
Rack Boot Protector
2. CONNECT STABILIZER BAR AND STRUT BAR TO LOWER ARM
(a) Connect the stabilizer bar to the lower arm with the bolt and nut. Torque the nut.
Torque: 180 kg-cm (13 ft·lb, 18 N·m)
(b) Connect the strut bar to the lower arm with the two nuts. Torque the nuts.
Torque: 670 kg-cm (48 ft·lb, 66 N·m)
3. CONNECT KNUCKLE ARM TO BALL JOINT AND TIE ROD
(a) Install the knuckle arm on the ball joint with a nut. Torque the nut and install a new cotter pin.
Torque: 800 kg-cm (58 ft·lb, 78 N·m)
(b) Install the knuckle arm on the tie rod with a nut. Torque the nut and install a new cotter pin.
Torque: 600 kg-cm (43 ft·lb, 59 N·m)
4. CONNECT KNUCKLE ARM TO SHOCK ABSORBER
Place the shock absorber assembly in position and connect the knuckle and with the two bolts. Torque the bolts.
Torque: 1,000 kg-cm (72 ft·lb, 98 N·m)
5. INSTALL TIRE AND LOWER VEHICLE
6. TORQUE BOLT HOLDING LOWER ARM TO CROSS-MEMBER
After bouncing the vehicle to settle the suspension, torque the bolt.
Torque: 1,100 kg-cm (80 ft·lb, 108 N·m)
7. CHECK FRONT WHEEL ALIGNMENT AND SIDE SLIP
(See page FA-3)