100%
AIR CONDITIONING SYSTEM — Cooling Unit
AC-39
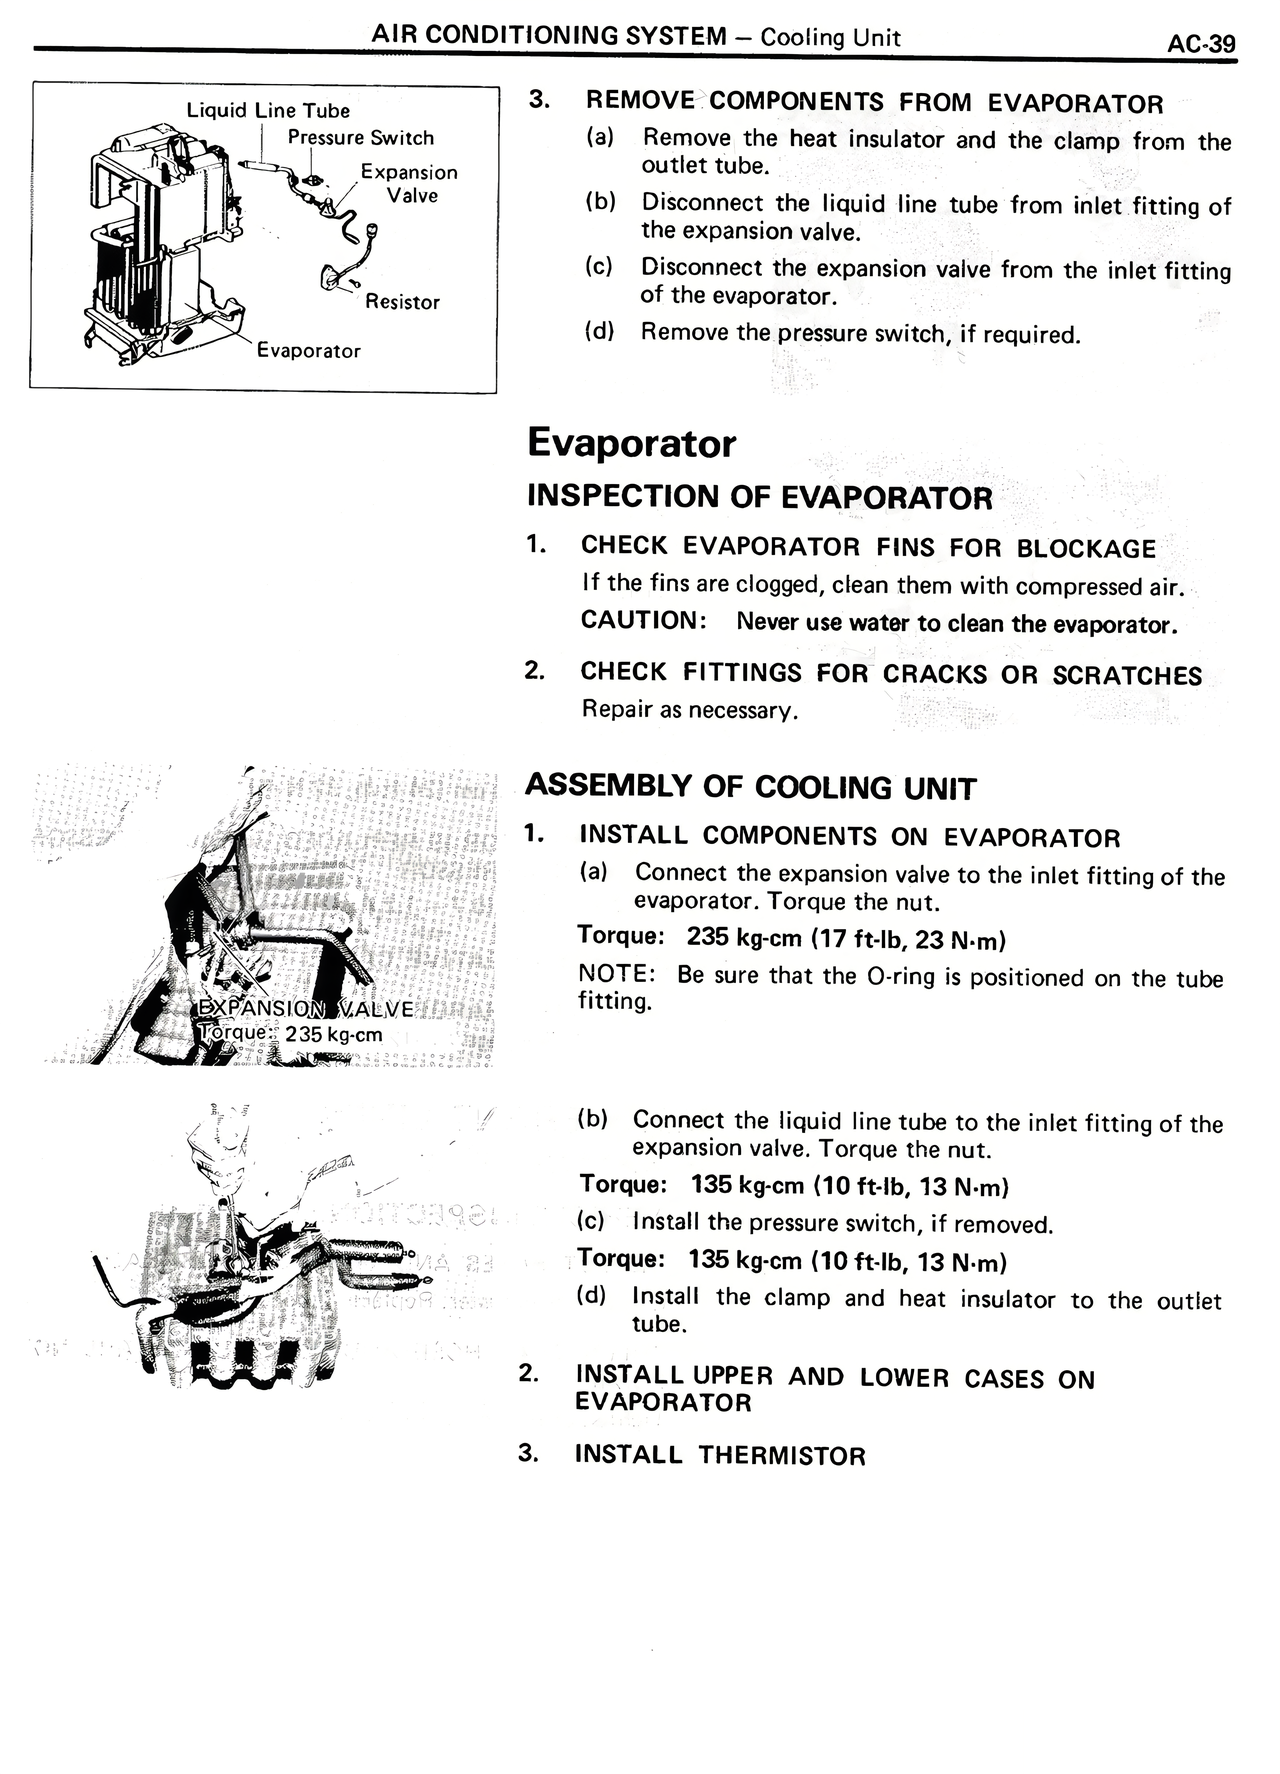
3. REMOVE COMPONENTS FROM EVAPORATOR
(a) Remove the heat insulator and the clamp from the outlet tube.
(b) Disconnect the liquid line tube from inlet fitting of the expansion valve.
(c) Disconnect the expansion valve from the inlet fitting of the evaporator.
(d) Remove the pressure switch, if required.
Evaporator
INSPECTION OF EVAPORATOR
1. CHECK EVAPORATOR FINS FOR BLOCKAGE
If the fins are clogged, clean them with compressed air.
CAUTION: Never use water to clean the evaporator.
2. CHECK FITTINGS FOR CRACKS OR SCRATCHES
Repair as necessary.
ASSEMBLY OF COOLING UNIT
1. INSTALL COMPONENTS ON EVAPORATOR
(a) Connect the expansion valve to the inlet fitting of the evaporator. Torque the nut.
Torque: 235 kg-cm (17 ft-lb, 23 N-m)
NOTE: Be sure that the O-ring is positioned on the tube fitting.
(b) Connect the liquid line tube to the inlet fitting of the expansion valve. Torque the nut.
Torque: 135 kg-cm (10 ft-lb, 13 N-m)
(c) Install the pressure switch, if removed.
Torque: 135 kg-cm (10 ft-lb, 13 N-m)
(d) Install the clamp and heat insulator to the outlet tube.
2. INSTALL UPPER AND LOWER CASES ON EVAPORATOR
3. INSTALL THERMISTOR