100%
ASSEMBLY OF OVERDRIVE CASE AND BRAKE
(See page AT-60)
1. INSTALL TWO OIL SEAL RINGS ON OVERDRIVE CASE
Spread the rings apart and slide them into the groove. Hook both ends by hand.
2. INSTALL NEW O-RING ON PISTON
3. INSTALL BRAKE PISTON IN OVERDRIVE CASE
Install the piston with cup side up, being careful not to damage the O-rings.
4. INSTALL TWELVE RETURN SPRINGS AND SET RETAINER AND SNAP RING IN PLACE
Check that the ends of snap ring are not aligned with one of the cutouts.
5. INSTALL THRUST BEARING AND RACES TO RING GEAR AND SET RING GEAR IN OVERDRIVE CASE
NOTE: Make sure that the races are installed in correct direction.
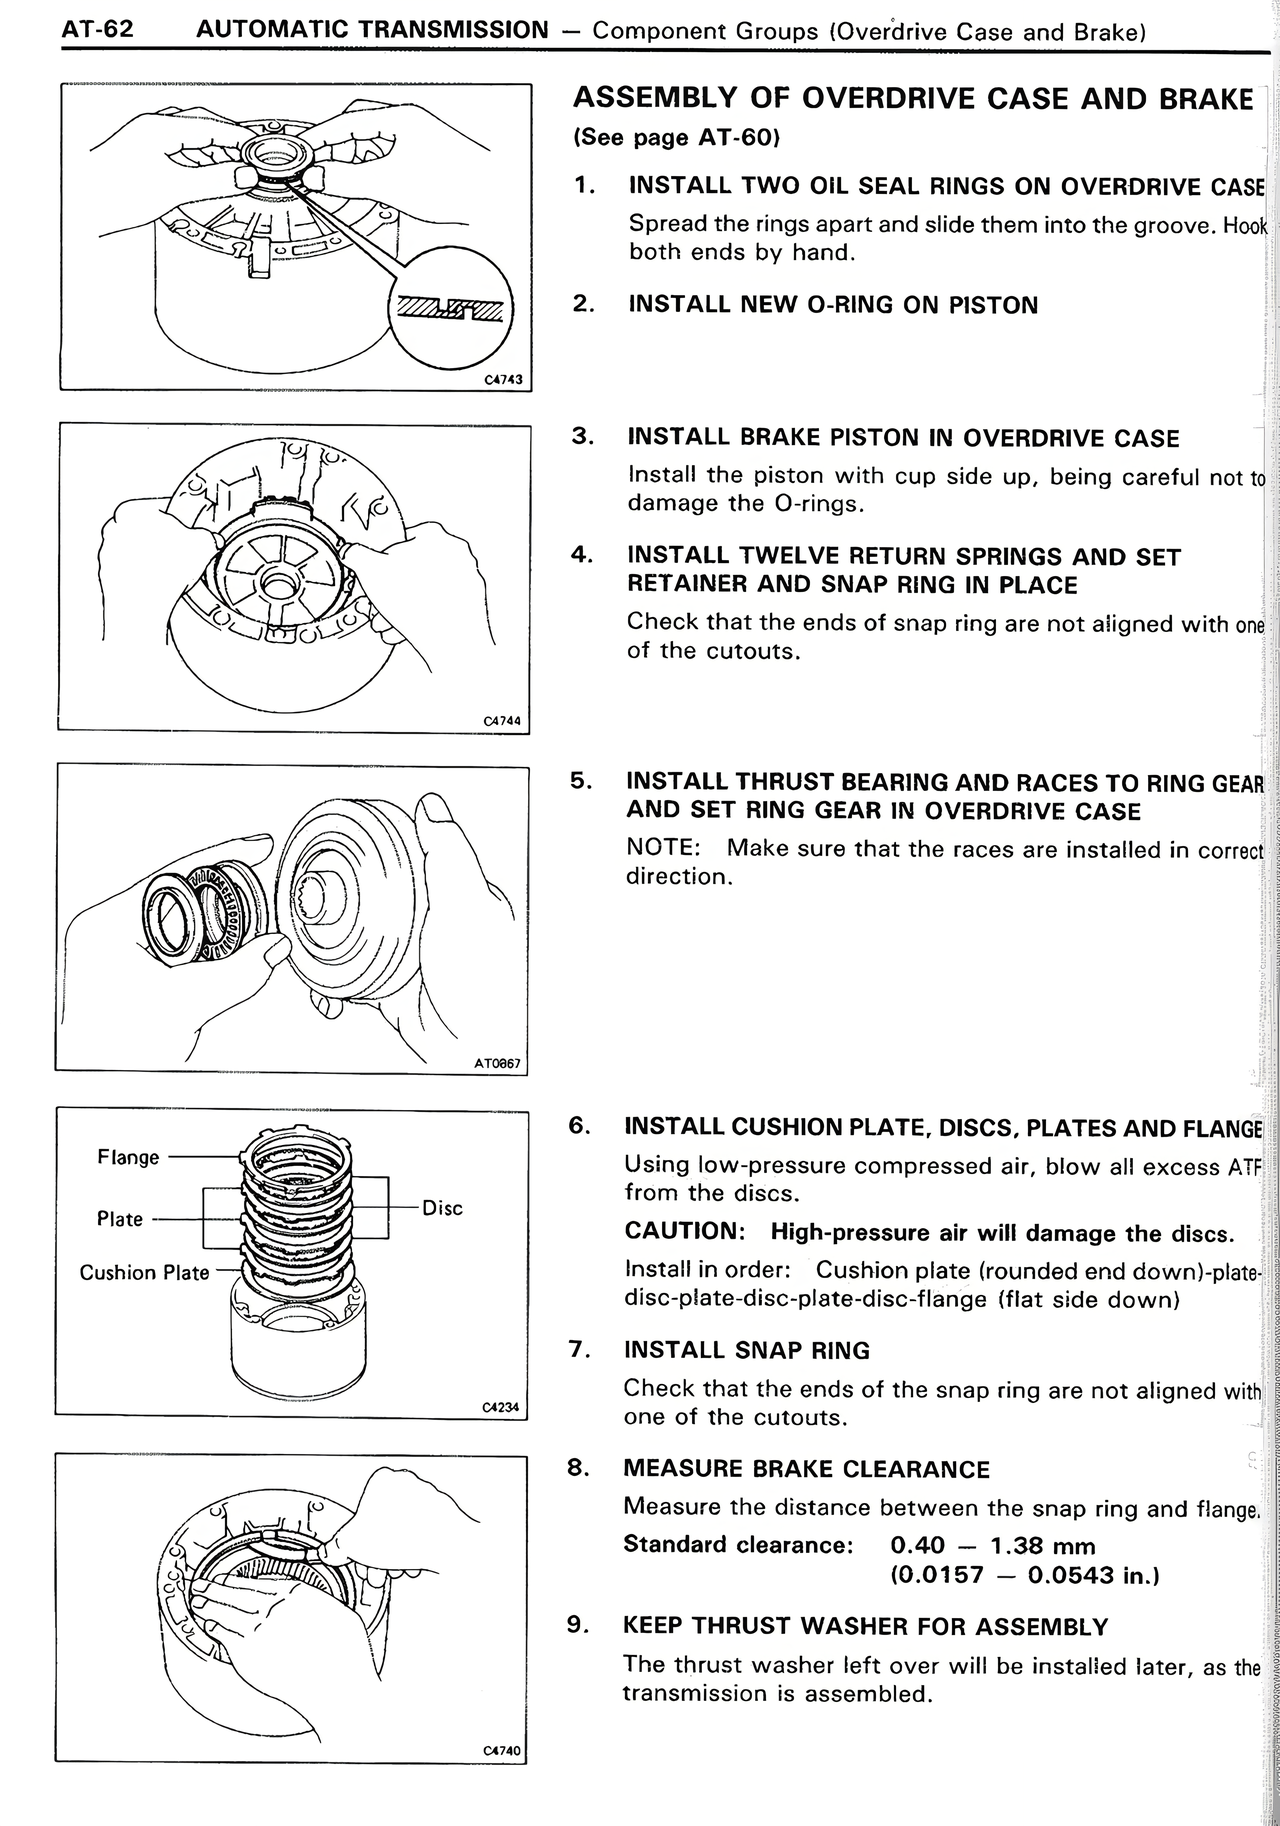
6. INSTALL CUSHION PLATE, DISCS, PLATES AND FLANGE
Using low pressure compressed air, blow all excess ATF from the discs.
CAUTION: High-pressure air will damage the discs.
Install in order: Cushion plate (rounded end down)-disc-plate-disc-plate-disc-plate-disc-flange (flat side down)
7. INSTALL SNAP RING
Check that the ends of the snap ring are not aligned with one of the cutouts.
8. MEASURE BRAKE CLEARANCE
Measure the distance between the snap ring and flange.
Standard clearance: 0.40 — 1.38 mm
(0.0157 — 0.0543 in.)
9. KEEP THRUST WASHER FOR ASSEMBLY
The thrust washer left over will be installed later, as the transmission is assembled.