FRONT AXLE AND SUSPENSION — Front Shock Absorber FA-19
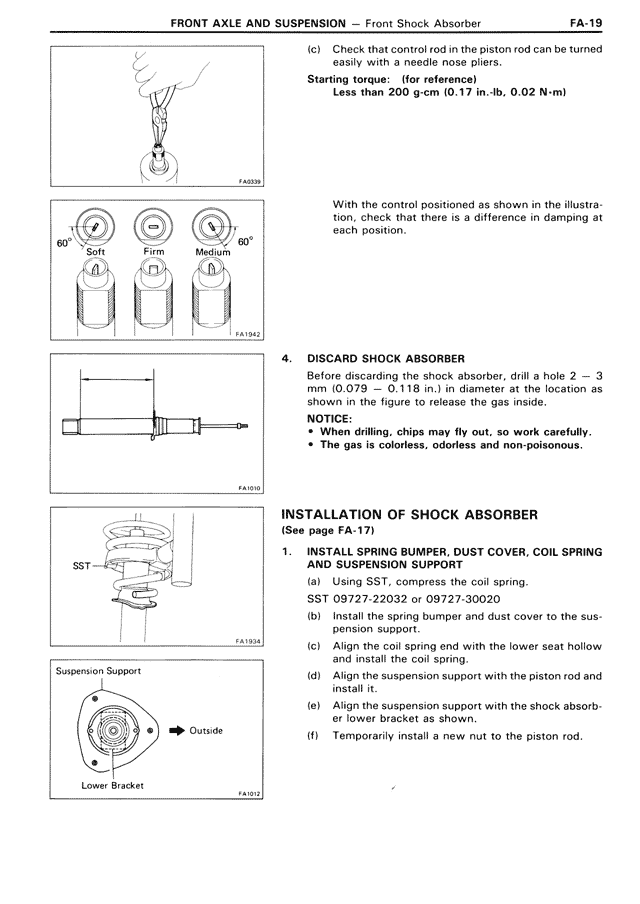
(c) Check that control rod in the piston rod can be turned
easily with a needle nose pliers.
Starting torque: (for reference)
Less than 200 g-cm (0.17 in.-lb, 0.02 N-m)
With the control positioned as shown in the illustration, check that there is a difference in damping at
each position.
60° 60°
Soft Firm Medium
4. DISCARD SHOCK ABSORBER
Before discarding the shock absorber, drill a hole 2 — 3
mm (0.079 — 0.118 in.) in diameter at location as
shown in the figure to release the gas inside.
CAUTION:
• When drilling, chips may fly out, so work carefully.
• The gas is colorless, odorless and non-poisonous.
INSTALLATION OF SHOCK ABSORBER
(See page FA-17)
1. INSTALL SPRING BUMPER, DUST COVER, COIL SPRING
AND SUSPENSION SUPPORT
(a) Using SST, compress the coil spring.
SST 09727-22032 or 09727-30020
(b) Install the spring bumper and dust cover to the suspension support.
(c) Align the coil spring end with the lower seat hollow
and install the coil spring.
(d) Align the suspension support with the piston rod and
install it.
(e) Align the suspension support with the shock absorber lower bracket as shown.
(f) Temporarily install a new nut to the piston rod.
SST
Suspension Support
Outside
Lower Bracket