SR-86
STEERING — Power Steering (Gear Housing)
[Image showing SST installation]
SST
SR2884
[Image showing SST installation]
SST
SR2885
[Image showing control valve installation]
SR2886
[Image showing control valve housing installation]
SST
SR2843
[Image showing lower bearing and spacer installation]
SR2883
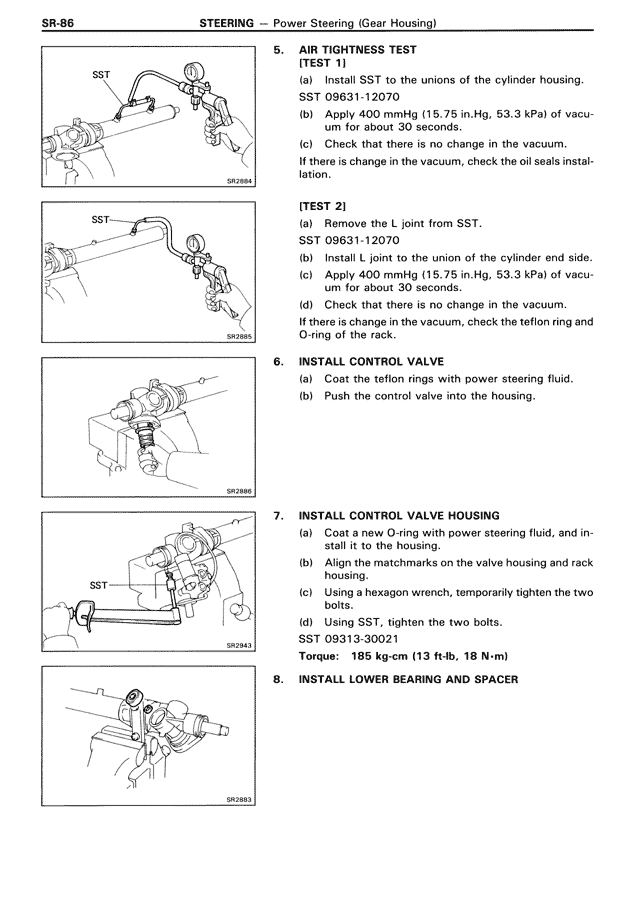
5. AIR TIGHTNESS TEST
[TEST 1]
(a) Install SST to the unions of the cylinder housing.
SST 09631-12070
(b) Apply 400 mmHg (15.75 in.Hg, 53.3 kPa) of vacuum for about 30 seconds.
(c) Check that there is no change in the vacuum.
If there is change in the vacuum, check the oil seals installation.
[TEST 2]
(a) Remove the L joint from SST.
SST 09631-12070
(b) Install L joint to the union of the cylinder end side.
(c) Apply 400 mmHg (15.75 in.Hg, 53.3 kPa) of vacuum for about 30 seconds.
(d) Check that there is no change in the vacuum.
If there is change in the vacuum, check the teflon ring and O-ring of the rack.
6. INSTALL CONTROL VALVE
(a) Coat the teflon rings with power steering fluid.
(b) Push the control valve into the housing.
7. INSTALL CONTROL VALVE HOUSING
(a) Coat a new O-ring with power steering fluid, and install it to the housing.
(b) Align the matchmarks on the valve housing and rack housing.
(c) Using a hexagon wrench, temporarily tighten the two bolts.
(d) Using SST, tighten the two bolts.
SST 09313-30021
Torque: 185 kg-cm (13 ft-lb, 18 N-m)
8. INSTALL LOWER BEARING AND SPACER