ASSEMBLY OF TRANSMISSION
Disassembly, inspection and assembly of each component group have been indicated in the preceding chapter. This chapter deals with assembly of
4A30E transmission.
GENERAL ASSEMBLY NOTE:
1. The automatic transmission is composed of highly precision-finished parts, necessitating careful inspection before assembly because even a small nick could cause fluid leakage or affect performance.
3. Before assembling new clutch discs, soak them in automatic transmission fluid for at least two hours.
5. Apply automatic transmission fluid on sliding or rotating surfaces of the parts before assembly.
7. Use petroleum jelly to keep the small parts in their places.
Before assembly, make sure again that all component groups are assembled correctly. If something wrong is found in a certain component group during assembly, inspect and repair this group immediately.
2. Do not use adhesive cements on gaskets and similar parts.
4. When assembling the transmission, be sure to use new gaskets and O-rings.
6. Dry all parts by blowing with compressed air. Never use shop rags.
8. Be sure to install the thrust bearings and races in the correct direction and position.
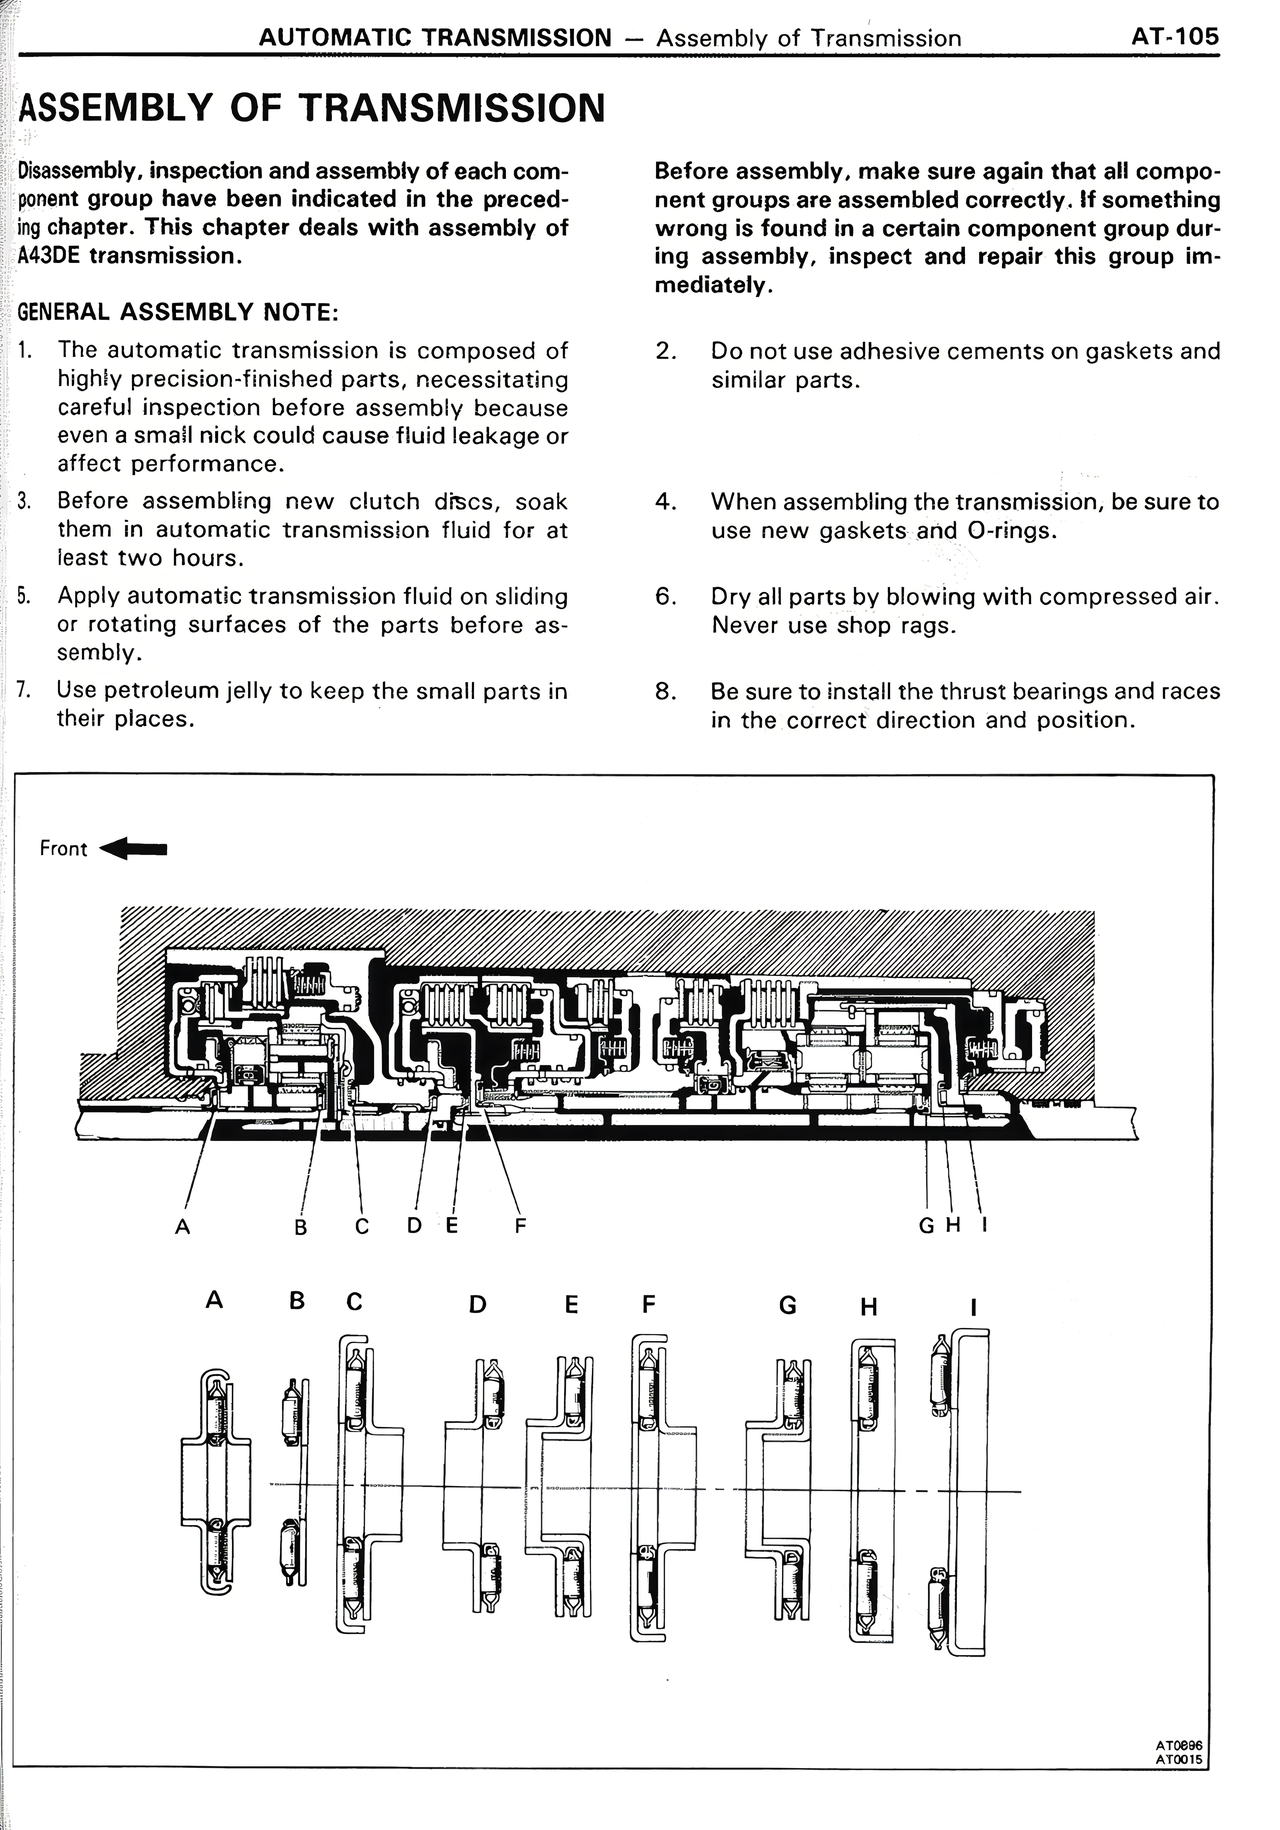
[DIAGRAM: Cross-sectional view of transmission showing internal components labeled A through I]
Front
A B C D E F G H I
[DIAGRAM: Individual component illustrations labeled A through I showing various transmission parts]
AT0695
AT0613