100%
AT1–21
AT340E (2JZ–GE) AUTOMATIC TRANSMISSION – ON–VEHICLE REPAIR
EXTENSION HOUSING REMOVAL
Installation is in the reverse order of removal.
INSTALLATION HINT: After installation, fill A/T fluid and check fluid lever. (See page AT1–42)
1. RAISE VEHICLE AND POSITION PAN TO CATCH ANY FLUID THAT MAY DRIP
2. REMOVE PROPELLER SHAFT TOGETHER WITH CENTER BEARING.
3. DISCONNECT NO. 1 AND NO. 2 VEHICLE SPEED SENSOR CONNECTORS AND REMOVE SENSORS
4. REMOVE SPEEDOMETER DRIVEN GEAR
5. JACK UP TRANSMISSION SLIGHTLY
Securely support the transmission on a transmission jack. Lift the transmission slightly to remove weight from the rear support member.
6. REMOVE REAR SUPPORT MEMBER
Remove the 4 bolts, nuts and support member.
Torque: 25 N·m (260 kgf·cm, 19 ft·lbf)
7. REMOVE TRANSMISSION MOUNTING BRACKET
Remove the 4 bolts and bracket from the transmission.
Torque: 25 N·m (250 kgf·cm, 18 ft·lbf)
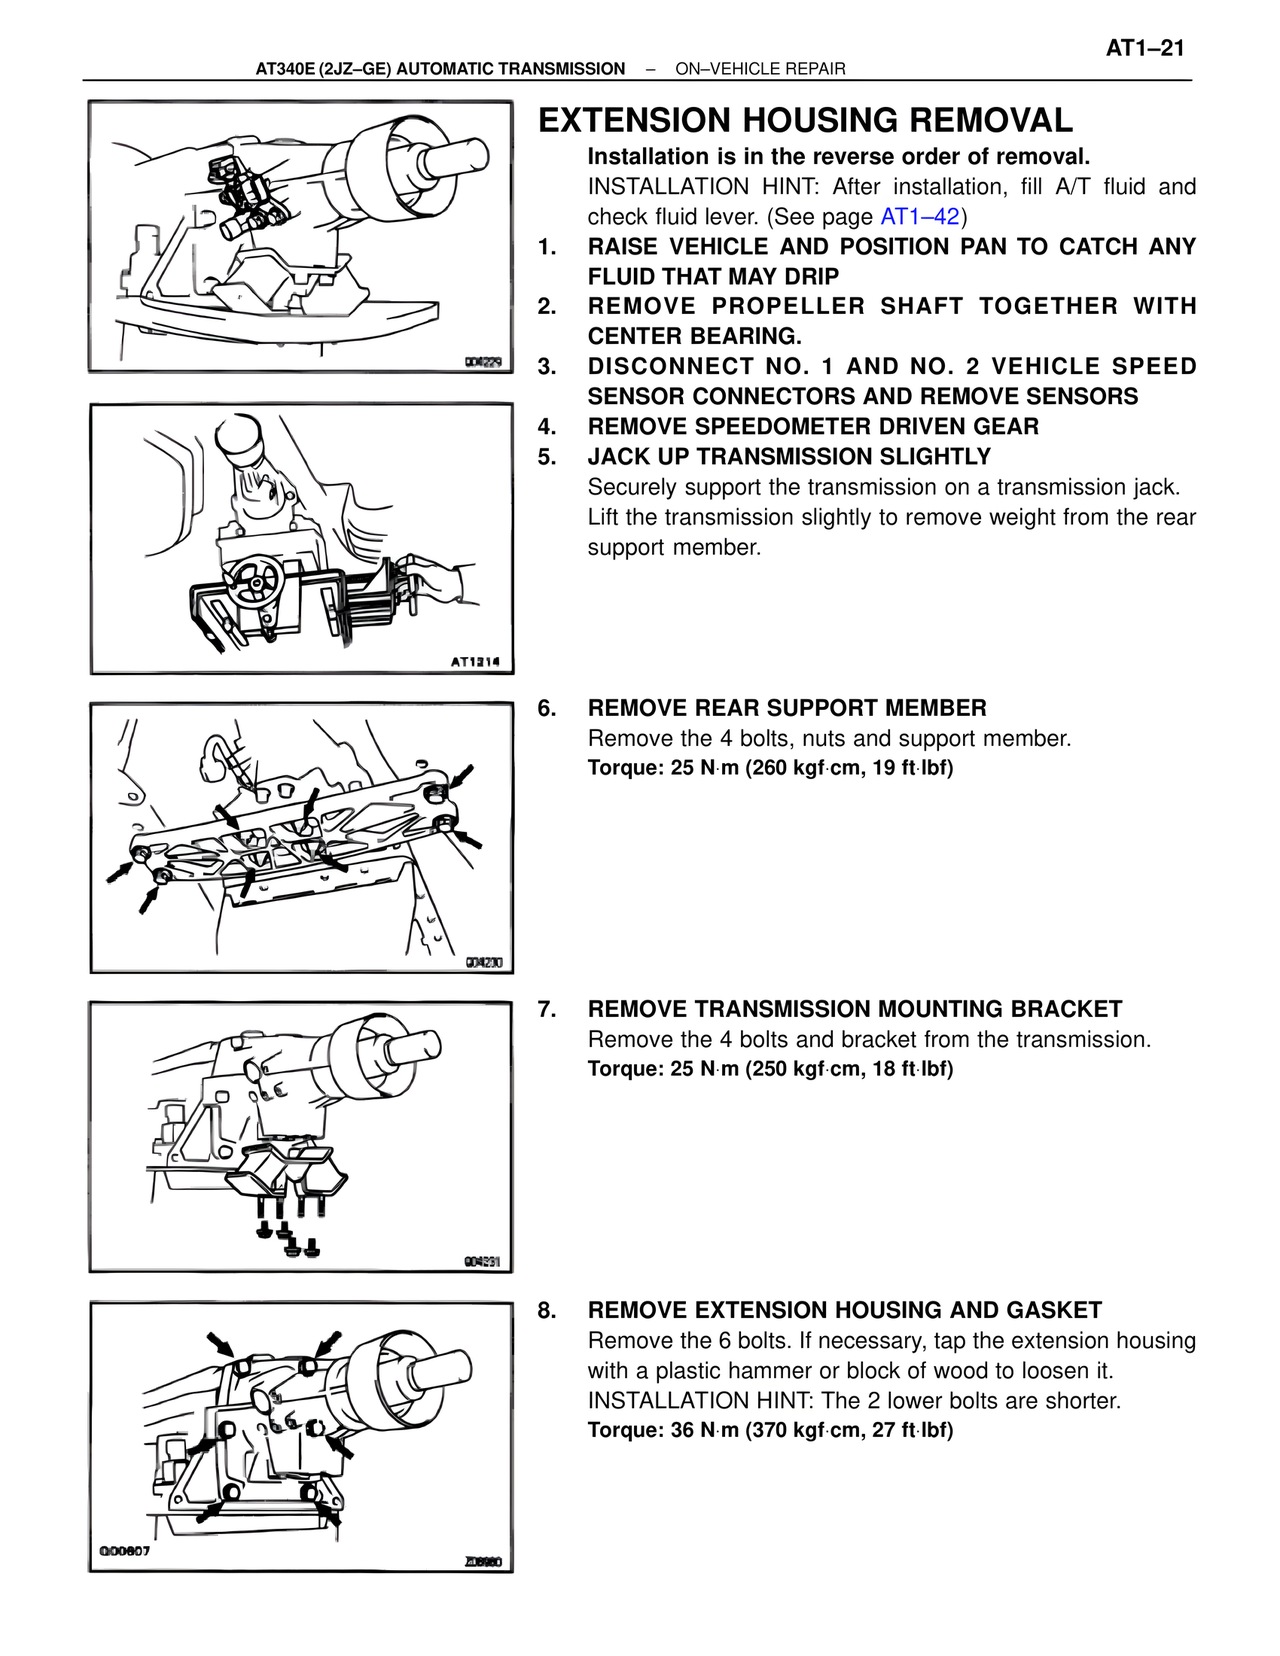
8. REMOVE EXTENSION HOUSING AND GASKET
Remove the 6 bolts. If necessary, tap the extension housing with a plastic hammer or block of wood to loosen it.
INSTALLATION HINT: The 2 lower bolts are shorter.
Torque: 36 N·m (370 kgf·cm, 27 ft·lbf)
Q06229
AT1214
Q04230
Q04231
Q00607
Z09980