AT1–74
AT340E (2JZ–GE) AUTOMATIC TRANSMISSION – TROUBLESHOOTING
INSPECTION PROCEDURE
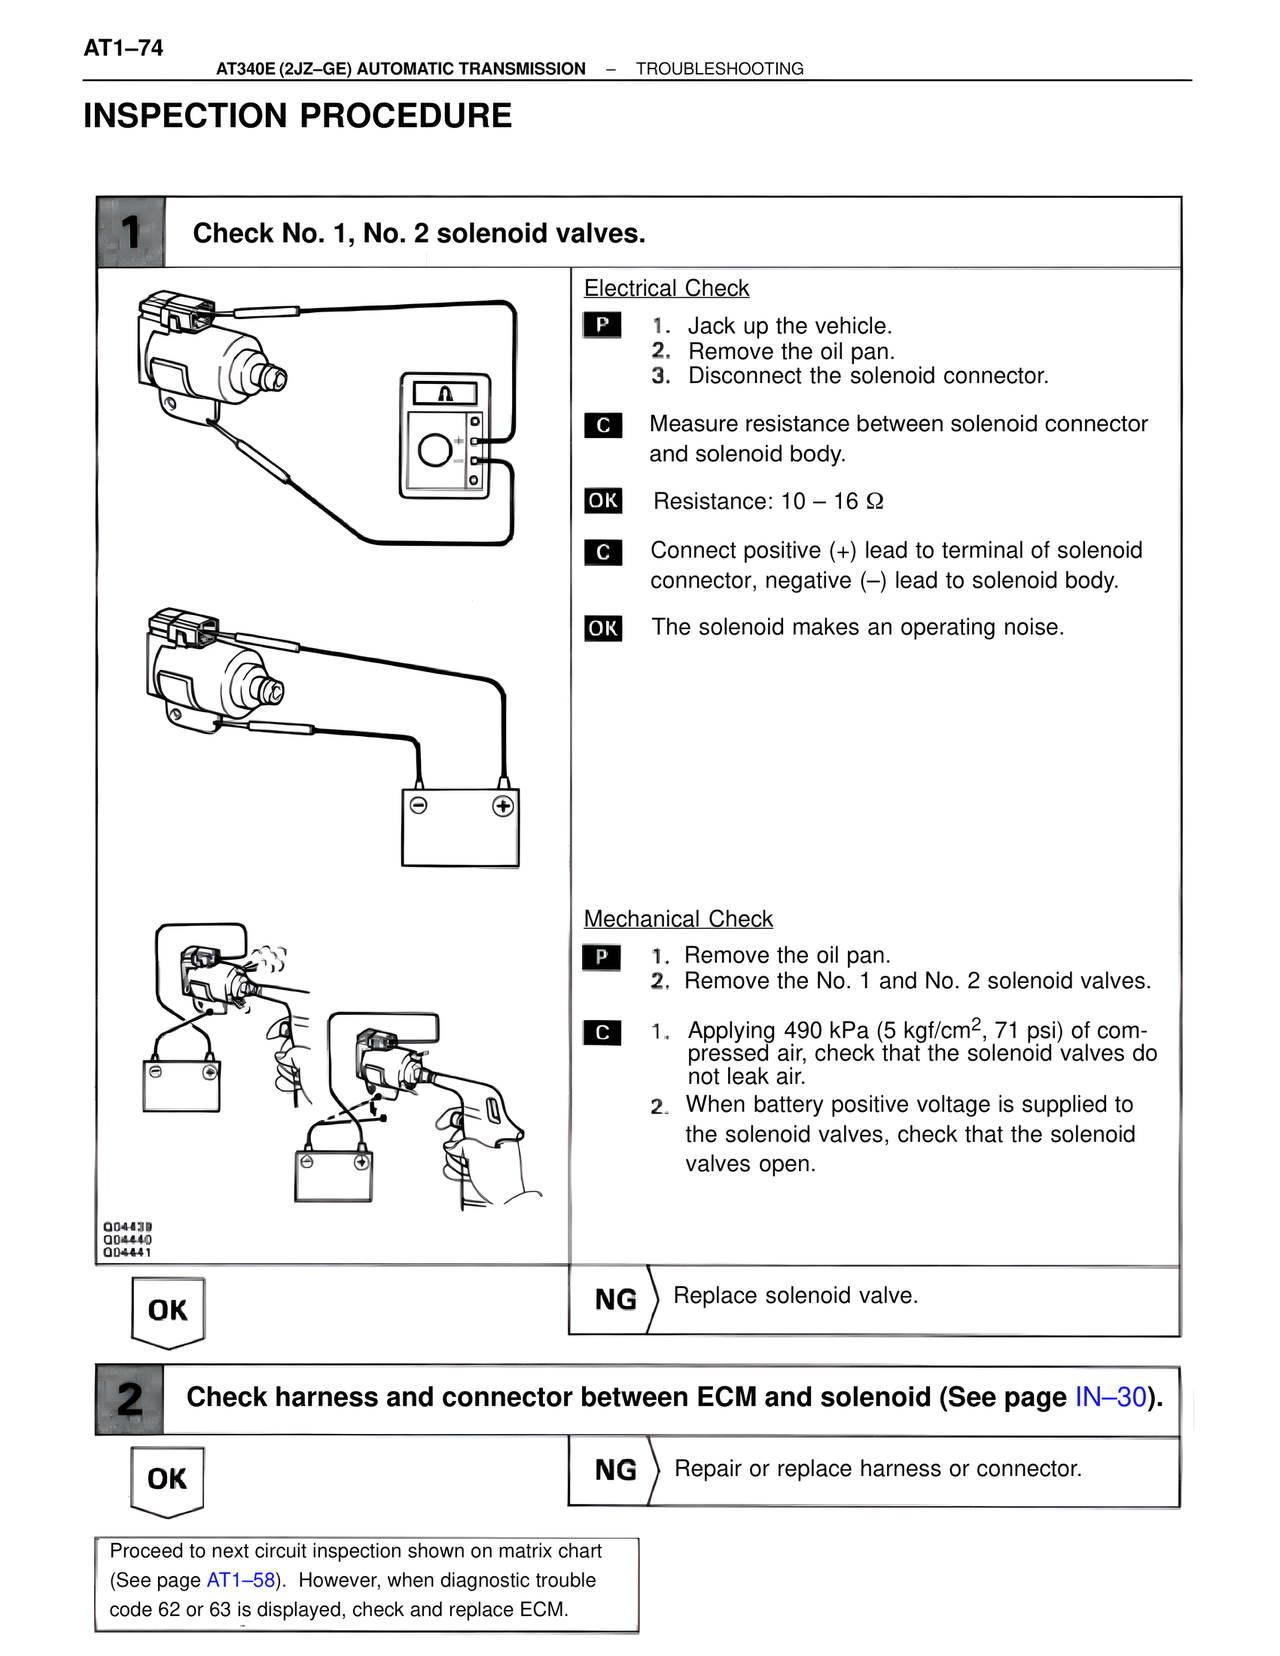
1 Check No. 1, No. 2 solenoid valves.
Electrical Check
P 1. Jack up the vehicle.
2. Remove the oil pan.
3. Disconnect the solenoid connector.
C Measure resistance between solenoid connector and solenoid body.
OK Resistance: 10 – 16 Ω
C Connect positive (+) lead to terminal of solenoid connector, negative (–) lead to solenoid body.
OK The solenoid makes an operating noise.
Mechanical Check
P 1. Remove the oil pan.
2. Remove the No. 1 and No. 2 solenoid valves.
C 1. Applying 490 kPa (5 kgf/cm2, 71 psi) of compressed air, check that the solenoid valves do not leak air.
2. When battery positive voltage is supplied to the solenoid valves, check that the solenoid valves open.
Q04439
Q04440
Q04441
OK NG Replace solenoid valve.
2 Check harness and connector between ECM and solenoid (See page IN–30).
OK NG Repair or replace harness or connector.
Proceed to next circuit inspection shown on matrix chart (See page AT1–58). However, when diagnostic trouble code 62 or 63 is displayed, check and replace ECM.