BE–112
BODY ELECTRICAL SYSTEM – AUDIO SYSTEM
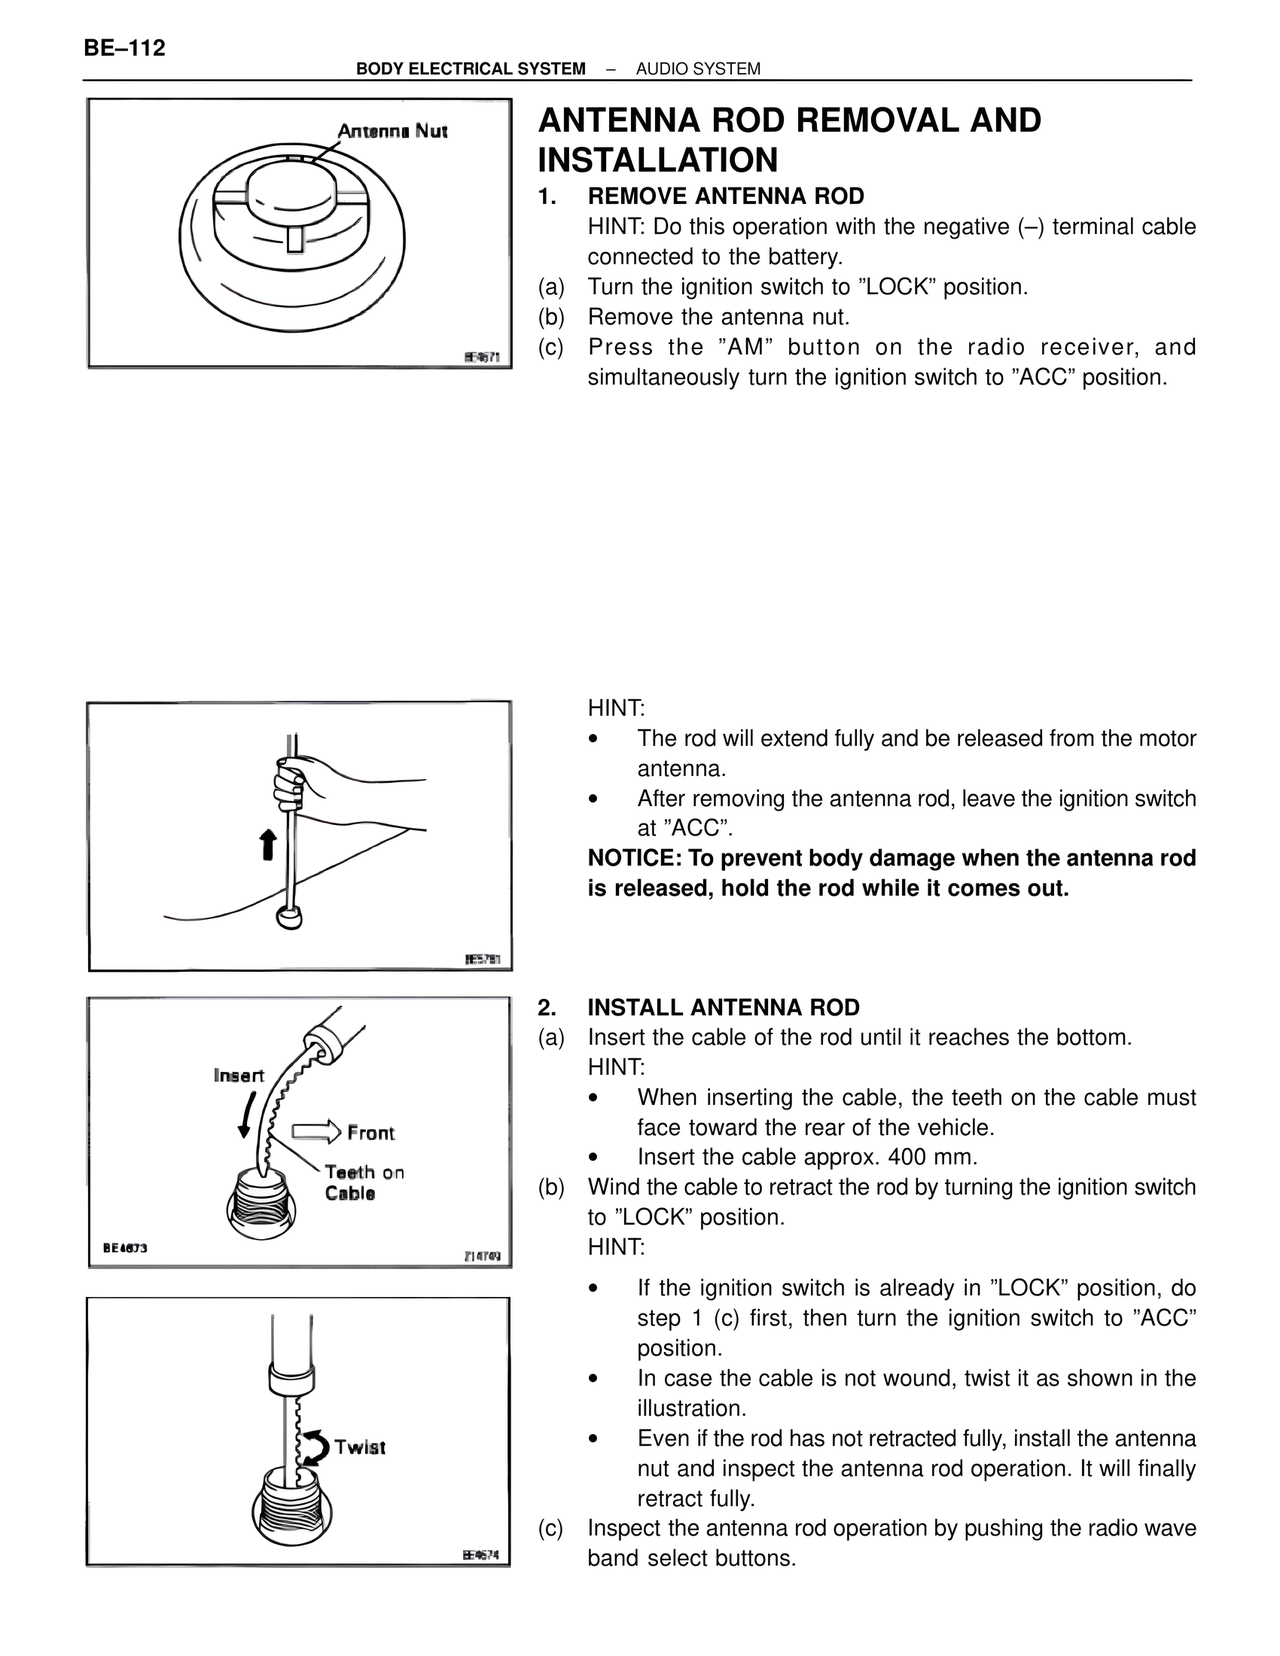
Antenna Nut
BE9571
ANTENNA ROD REMOVAL AND INSTALLATION
1. REMOVE ANTENNA ROD
HINT: Do this operation with the negative (–) terminal cable connected to the battery.
(a) Turn the ignition switch to "LOCK" position.
(b) Remove the antenna nut.
(c) Press the "AM" button on the radio receiver, and simultaneously turn the ignition switch to "ACC" position.
BE5781
HINT:
• The rod will extend fully and be released from the motor antenna.
• After removing the antenna rod, leave the ignition switch at "ACC".
NOTICE: To prevent body damage when the antenna rod is released, hold the rod while it comes out.
Insert
Front
Teeth on Cable
BE4873
Z14749
2. INSTALL ANTENNA ROD
(a) Insert the cable of the rod until it reaches the bottom.
HINT:
• When inserting the cable, the teeth on the cable must face toward the rear of the vehicle.
• Insert the cable approx. 400 mm.
(b) Wind the cable to retract the rod by turning the ignition switch to "LOCK" position.
HINT:
• If the ignition switch is already in "LOCK" position, do step 1 (c) first, then turn the ignition switch to "ACC" position.
• In case the cable is not wound, twist it as shown in the illustration.
• Even if the rod has not retracted fully, install the antenna nut and inspect the antenna rod operation. It will finally retract fully.
Twist
BE9574
(c) Inspect the antenna rod operation by pushing the radio wave band select buttons.