PR–16
PROPELLER SHAFT – PROPELLER SHAFT
2. INSPECT PROPELLER SHAFT JOINT ANGLE
(See page PR–17)
NOTICE: The joint angle should be checked when the
propeller shaft is removed and installed.
3. INSTALL CROSSMEMBER BRACE
Normal Roof:
Install the center floor crossmember brace and torque the 4
bolts.
Torque: 13 N·m (130 kgf·cm, 8 ft·lbf)
Sport Roof:
Install the center floor crossmember brace and torque the 6
bolts.
Torque: 13 N·m (130 kgf·cm, 8 ft·lbf)
4. INSTALL HEAT INSULATOR
Install the heat insulator and torque the 4 nuts.
Torque: 5.4 N·m (55 kgf·cm, 48 in.·lbf)
5. INSTALL EXHAUST PIPE
(a) Install a new gasket.
(b) Insert the exhaust pipe.
(c) Install the exhaust pipe to the 2 exhaust pipe support rings.
(d) Install the exhaust pipe to the 2 exhaust pipe support
O–rings.
(e) Temporary install the pipe support bracket to the
transmission with 2 bolts.
(f) Install the exhaust pipe with the 2 bolts and new 2 nuts.
Torque: 58 N·m (590 kgf·cm, 43 ft·lbf)
(g) Torque the 2 bolts.
Torque: 37 N·m (380 kgf·cm, 27 ft·lbf)
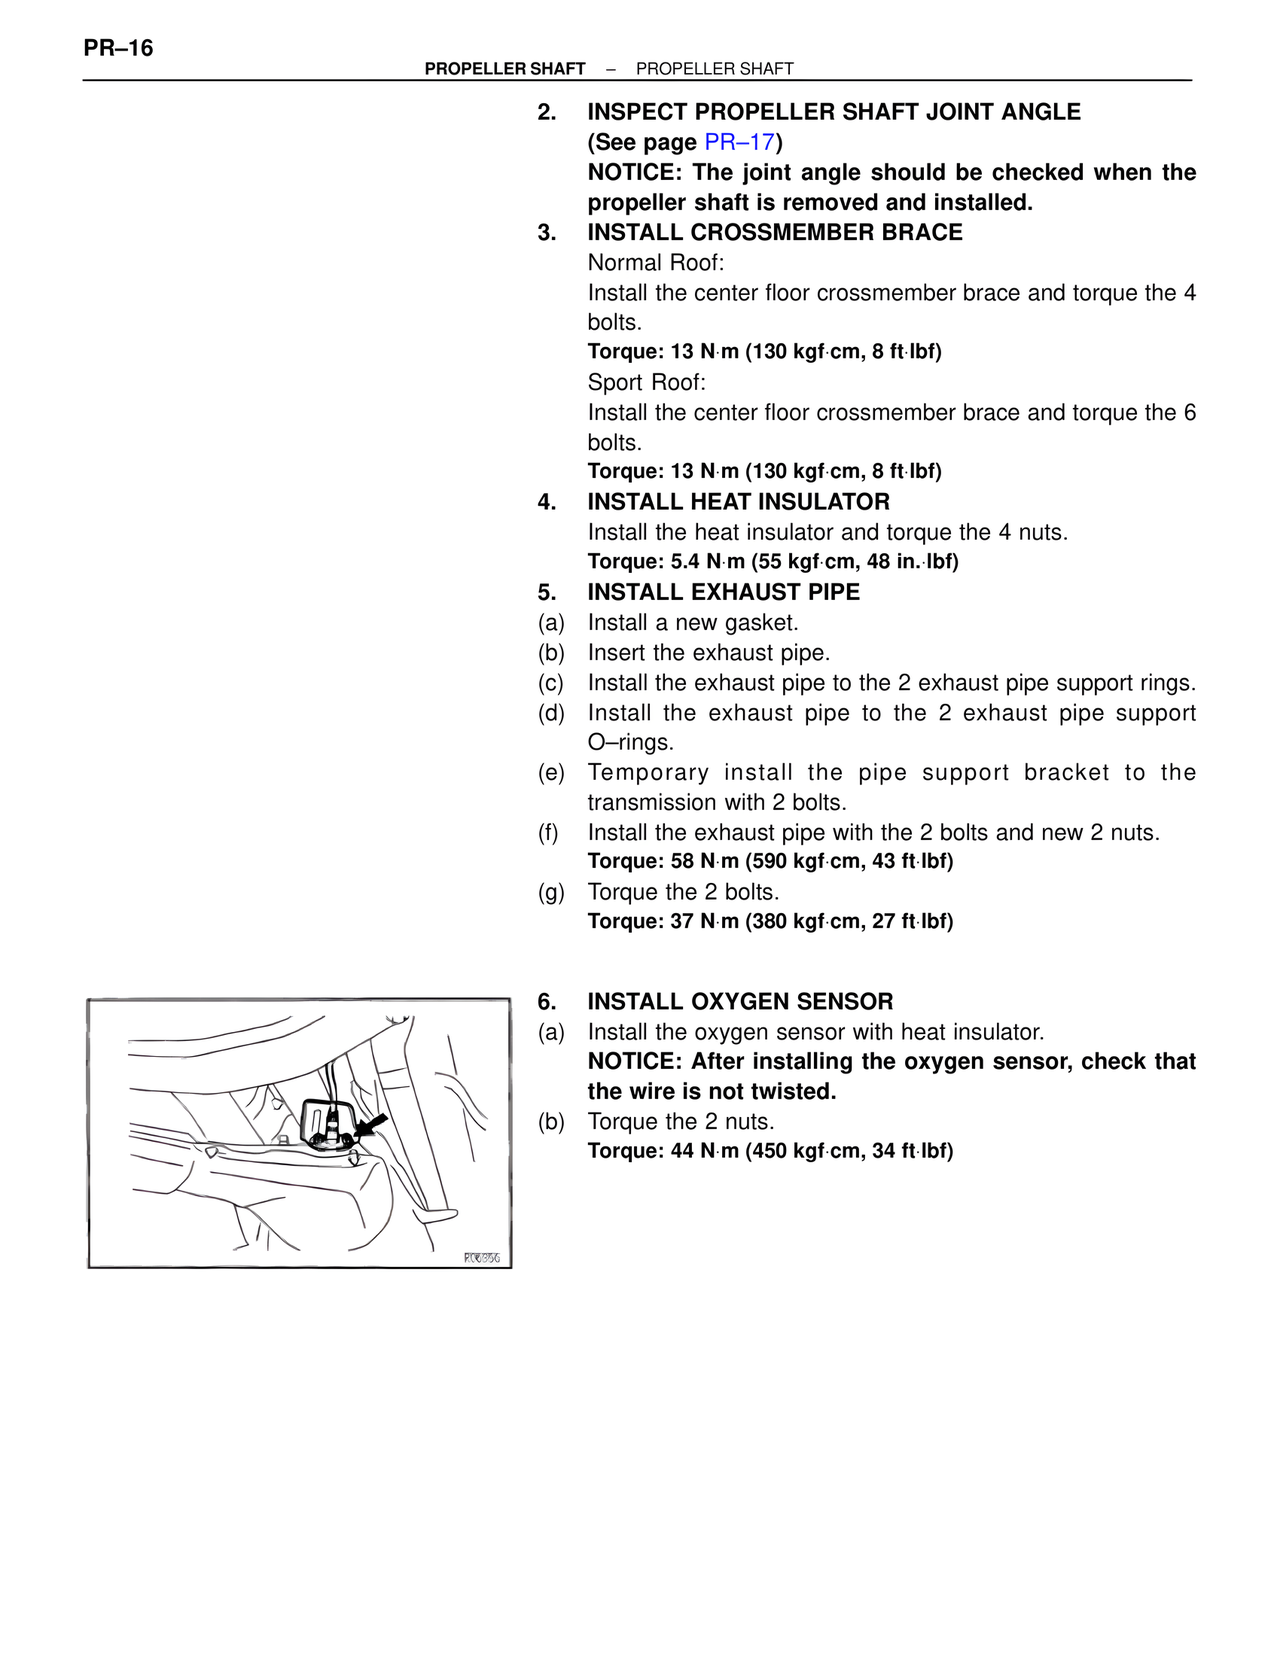
6. INSTALL OXYGEN SENSOR
(a) Install the oxygen sensor with heat insulator.
NOTICE: After installing the oxygen sensor, check that
the wire is not twisted.
(b) Torque the 2 nuts.
Torque: 44 N·m (450 kgf·cm, 34 ft·lbf)
P06856