PROPELLER SHAFT — PROPELLER SHAFT
PROPELLER SHAFT REMOVAL
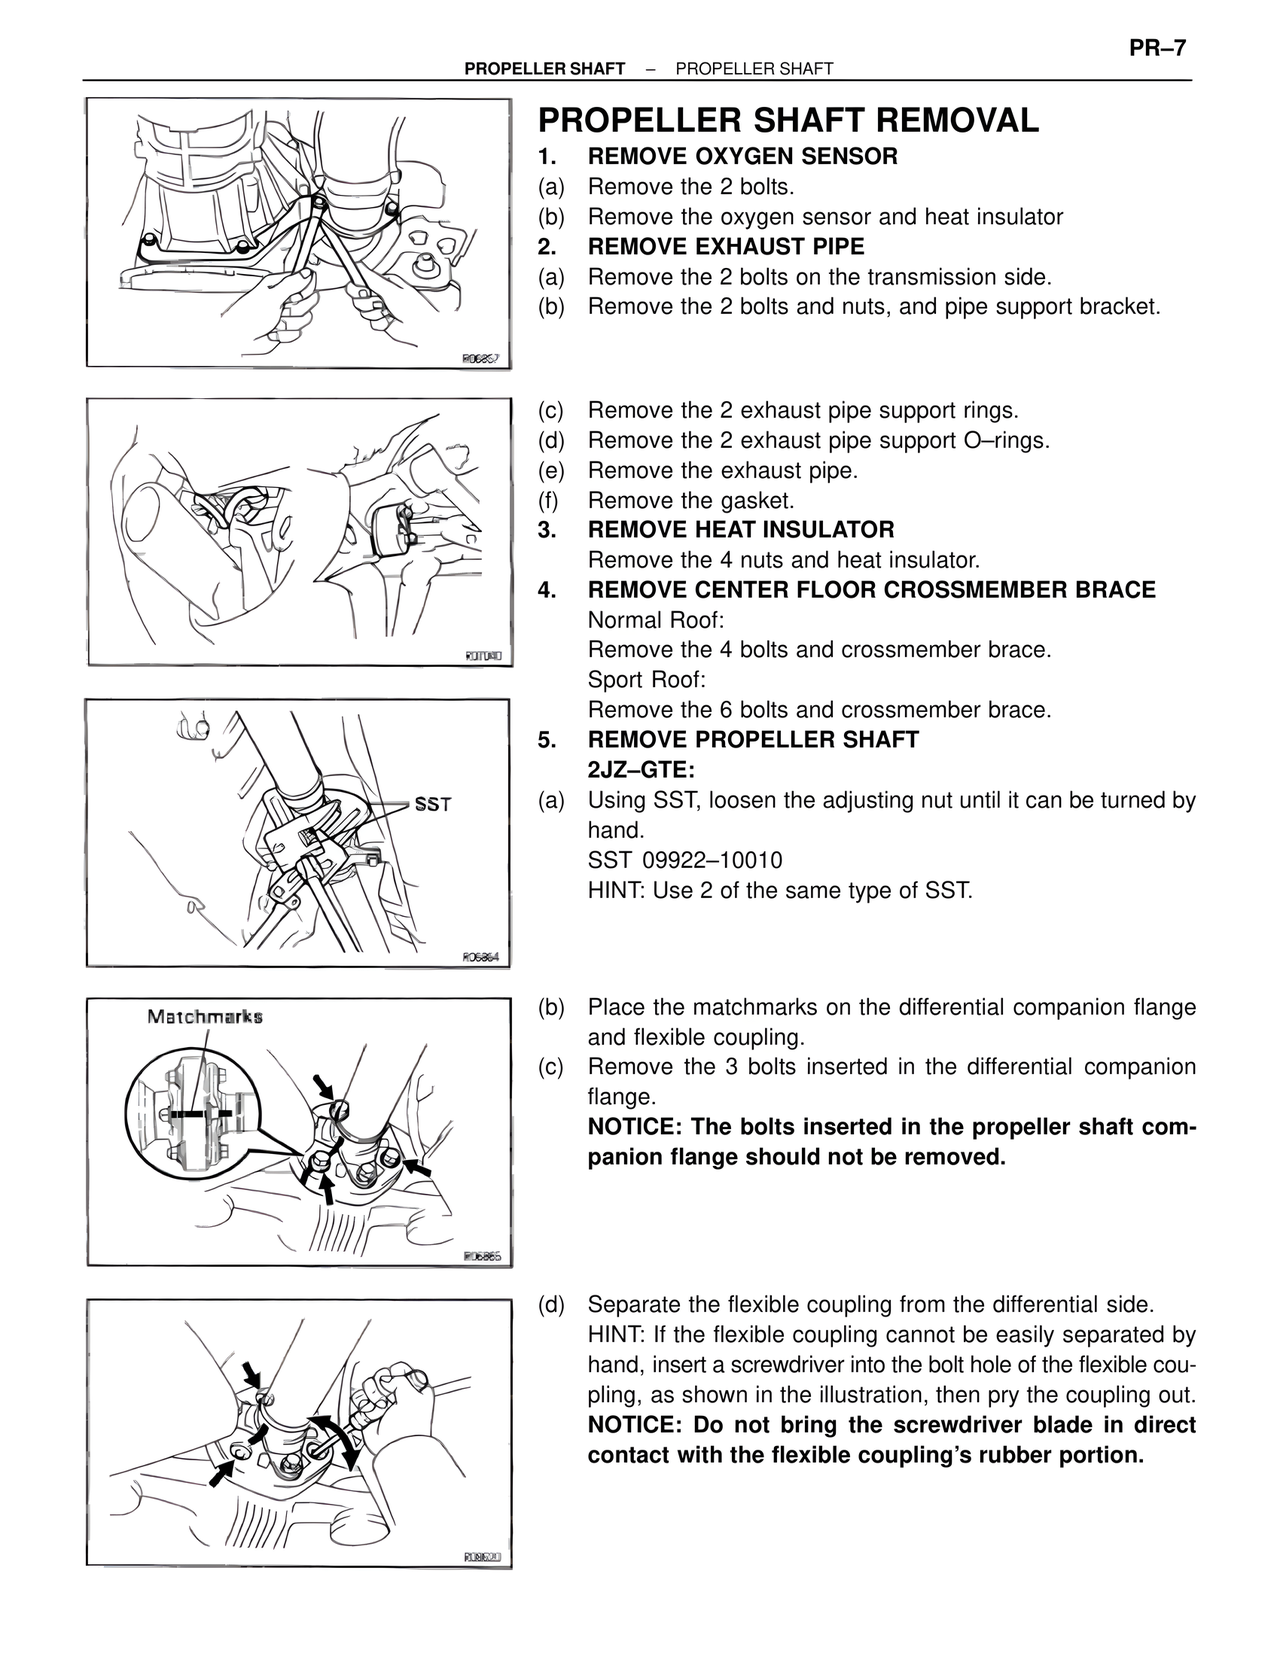
1. REMOVE OXYGEN SENSOR
(a) Remove the 2 bolts.
(b) Remove the oxygen sensor and heat insulator
2. REMOVE EXHAUST PIPE
(a) Remove the 2 bolts on the transmission side.
(b) Remove the 2 bolts and nuts, and pipe support bracket.
R06857
(c) Remove the 2 exhaust pipe support rings.
(d) Remove the 2 exhaust pipe support O–rings.
(e) Remove the exhaust pipe.
(f) Remove the gasket.
3. REMOVE HEAT INSULATOR
Remove the 4 nuts and heat insulator.
4. REMOVE CENTER FLOOR CROSSMEMBER BRACE
Normal Roof:
Remove the 4 bolts and crossmember brace.
Sport Roof:
Remove the 6 bolts and crossmember brace.
5. REMOVE PROPELLER SHAFT
2JZ–GTE:
(a) Using SST, loosen the adjusting nut until it can be turned by hand.
SST 09922–10010
HINT: Use 2 of the same type of SST.
R07040
SST
R06864
Matchmarks
(b) Place the matchmarks on the differential companion flange and flexible coupling.
(c) Remove the 3 bolts inserted in the differential companion flange.
NOTICE: The bolts inserted in the propeller shaft companion flange should not be removed.
R06865
(d) Separate the flexible coupling from the differential side.
HINT: If the flexible coupling cannot be easily separated by hand, insert a screwdriver into the bolt hole of the flexible coupling, as shown in the illustration, then pry the coupling out.
NOTICE: Do not bring the screwdriver blade in direct contact with the flexible coupling's rubber portion.
R08620
PR–7