W58 MANUAL TRANSMISSION – COMPONENT PARTS REMOVAL
MT1–19
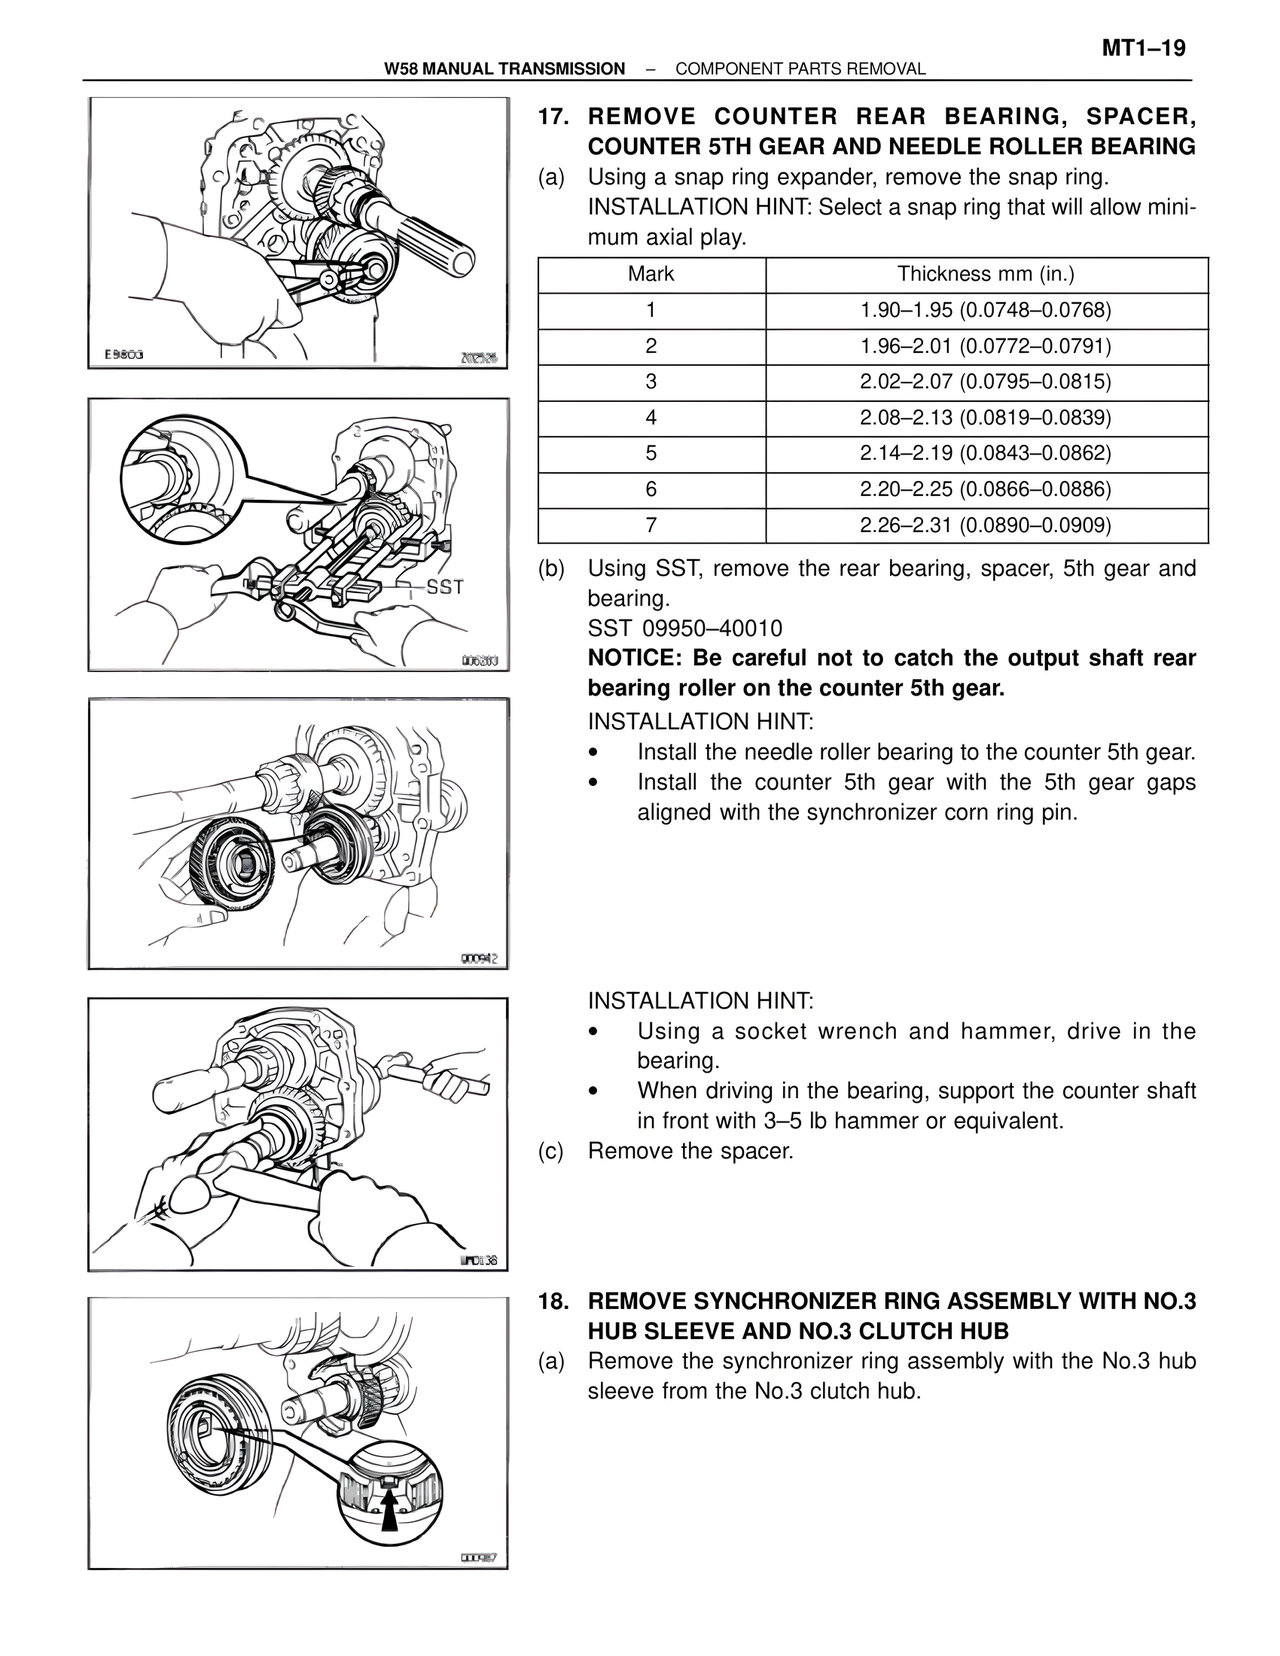
17. REMOVE COUNTER REAR BEARING, SPACER, COUNTER 5TH GEAR AND NEEDLE ROLLER BEARING
(a) Using a snap ring expander, remove the snap ring.
INSTALLATION HINT: Select a snap ring that will allow minimum axial play.
Mark | Thickness mm (in.)
1 | 1.90–1.95 (0.0748–0.0768)
2 | 1.96–2.01 (0.0772–0.0791)
3 | 2.02–2.07 (0.0795–0.0815)
4 | 2.08–2.13 (0.0819–0.0839)
5 | 2.14–2.19 (0.0843–0.0862)
6 | 2.20–2.25 (0.0866–0.0886)
7 | 2.26–2.31 (0.0890–0.0909)
(b) Using SST, remove the rear bearing, spacer, 5th gear and bearing.
SST 09950–40010
NOTICE: Be careful not to catch the output shaft rear bearing roller on the counter 5th gear.
INSTALLATION HINT:
• Install the needle roller bearing to the counter 5th gear.
• Install the counter 5th gear with the 5th gear gaps aligned with the synchronizer corn ring pin.
INSTALLATION HINT:
• Using a socket wrench and hammer, drive in the bearing.
• When driving in the bearing, support the counter shaft in front with 3–5 lb hammer or equivalent.
(c) Remove the spacer.
18. REMOVE SYNCHRONIZER RING ASSEMBLY WITH NO.3 HUB SLEEVE AND NO.3 CLUTCH HUB
(a) Remove the synchronizer ring assembly with the No.3 hub sleeve from the No.3 clutch hub.
E9803
SST
000942
jifD138
000987