BR–32
BRAKE SYSTEM – REAR BRAKE (2JZ–GTE)
4. CHECK DISC THICKNESS AND RUNOUT
(See page BR–34)
5. INSTALL NEW PADS
NOTICE: When replacing worn pads, the anti–squeal
shims must be replaced together with the pads.
(a) Draw out a small amount of brake fluid from the reservoir.
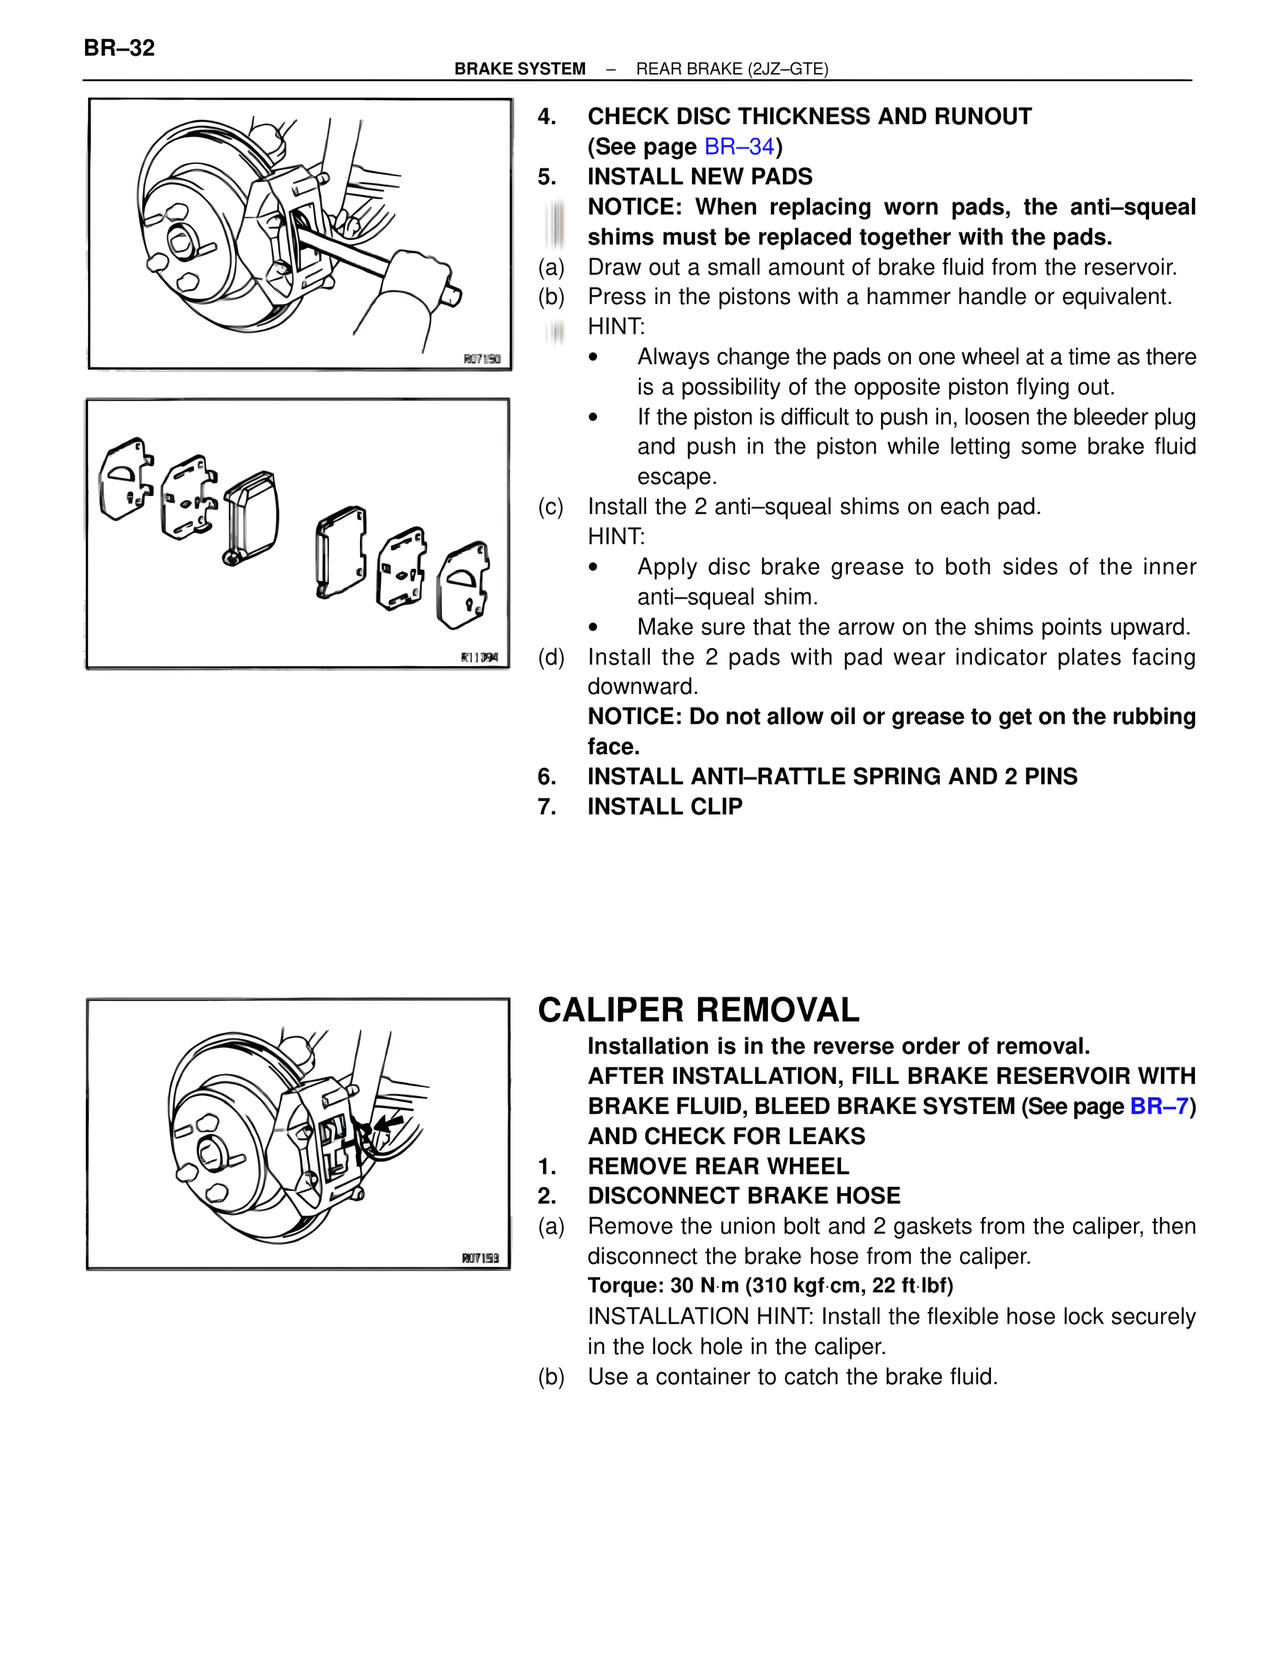
(b) Press in the pistons with a hammer handle or equivalent.
HINT:
• Always change the pads on one wheel at a time as there
is a possibility of the opposite piston flying out.
• If the piston is difficult to push in, loosen the bleeder plug
and push in the piston while letting some brake fluid
escape.
(c) Install the 2 anti–squeal shims on each pad.
HINT:
• Apply disc brake grease to both sides of the inner
anti–squeal shim.
• Make sure that the arrow on the shims points upward.
(d) Install the 2 pads with pad wear indicator plates facing
downward.
NOTICE: Do not allow oil or grease to get on the rubbing
face.
6. INSTALL ANTI–RATTLE SPRING AND 2 PINS
7. INSTALL CLIP
CALIPER REMOVAL
Installation is in the reverse order of removal.
AFTER INSTALLATION, FILL BRAKE RESERVOIR WITH
BRAKE FLUID, BLEED BRAKE SYSTEM (See page BR–7)
AND CHECK FOR LEAKS
1. REMOVE REAR WHEEL
2. DISCONNECT BRAKE HOSE
(a) Remove the union bolt and 2 gaskets from the caliper, then
disconnect the brake hose from the caliper.
Torque: 30 N·m (310 kgf·cm, 22 ft·lbf)
INSTALLATION HINT: Install the flexible hose lock securely
in the lock hole in the caliper.
(b) Use a container to catch the brake fluid.
R07150
R11394
R07153